Save to Pinterest
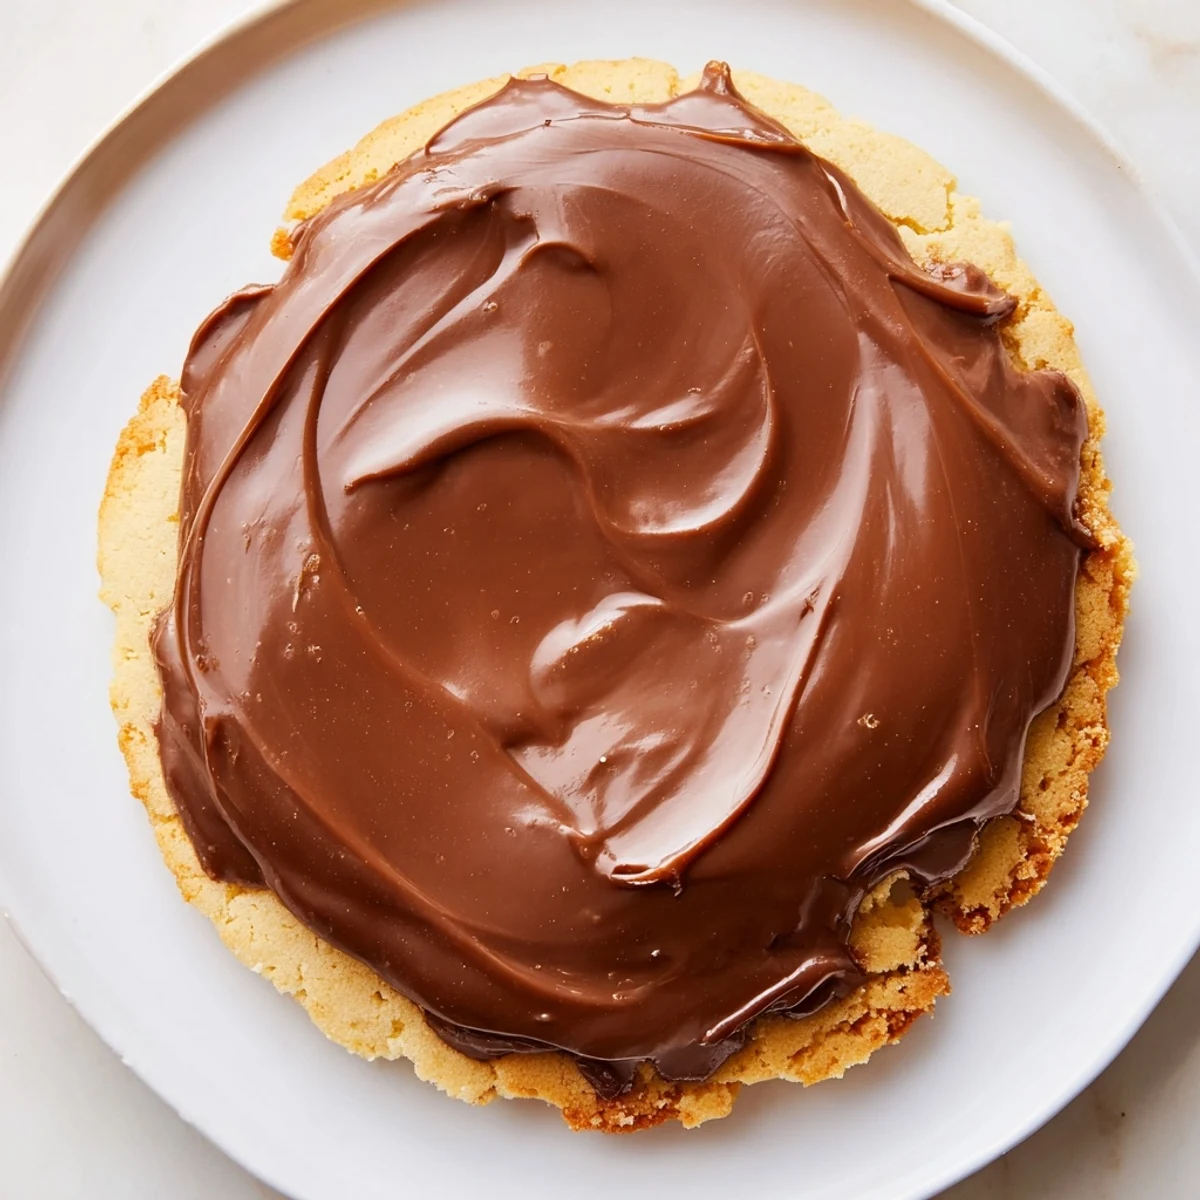
 These Twix-inspired treats feature a rich, buttery shortbread base layered with a creamy caramel center and finished with a smooth milk chocolate topping. Perfectly baked to a golden edge, each piece offers a balanced combination of textures and flavors, capturing the essence of an indulgent sweet snack. Ideal for festive gatherings or anytime indulgence, these treats chill to set layers for a satisfying bite. Simple ingredients come together with a few steps to create a memorable and delicious layered delight.
The first time I made these, my kitchen smelled like a candy factory had exploded in the best possible way. I had this sudden epiphany that homemade Twix bars were actually achievable without owning industrial equipment or a chocolate tempering machine. Now they're my go-to when I need something that feels indulgent but still makes people say "wait, you made these?"
Last Christmas, I left a plate of these out for my family and came back twenty minutes later to find nothing but crumbs and my brother trying to decide if licking the chocolate off his fingers was socially acceptable. They've become the unofficial mascot of holiday gatherings, and I've accepted that I'll be making batches until my hands give out.
Ingredients
- Unsalted butter: Room temperature butter is non negotiable here, it creates that melt in your mouth shortbread foundation
- Granulated sugar: Just enough sweetness to let the butter shine without overpowering the caramel and chocolate layers
- All purpose flour: The structure builder, measure it by weight if you can for consistent results every time
- Salt: A tiny amount that wakes up all the flavors and keeps things from tasting one dimensionally sweet
- Vanilla extract: Pure vanilla adds that aromatic background note that makes people ask what your secret ingredient is
- Thick caramel sauce: Dulce de leche works beautifully here, or make your own caramel if you're feeling adventurous
- Sea salt: Optional but highly recommended, it creates that salted caramel magic everyone loves
- Milk chocolate: Choose good quality chocolate since it's the final flavor impression
- Additional butter: Adding a tablespoon to the melted chocolate keeps it glossy and helps it set properly
Instructions
- Prepare your oven and pans:
- Preheat to 350°F and line two baking sheets with parchment paper, this saves you from scrubbing baked on caramel later
- Cream the butter and sugar:
- Beat butter and sugar until pale and fluffy, then mix in vanilla until everything smells like a bakery
- Bring the dough together:
- Add flour and salt, mixing just until a soft dough forms, don't overwork it or your cookies will be tough
- Shape the cookies:
- Roll dough into 1 inch balls and flatten them gently to about 1/2 inch thick, leaving space for spreading
- Bake until golden:
- Bake for 12 to 15 minutes until edges are barely golden, they'll firm up as they cool so don't overbake
- Let them cool completely:
- This is crucial, warm cookies will melt your caramel right off and you'll have a sticky mess on your hands
- Add the caramel layer:
- Spread about 1 to 2 teaspoons caramel on each cooled cookie, then chill for 30 minutes to set
- Melt the chocolate:
- Gently melt chocolate and butter together over simmering water, stirring until silky smooth
- Finish with chocolate:
- Spoon or spread chocolate over the caramel layer, then chill for another 15 minutes until set
 Save to Pinterest
 These cookies have this way of appearing at every memorable moment, from late night study sessions to impromptu dinner parties where the dessert was supposed to be store bought. Somehow a plate of Twix cookies elevates any occasion into something that feels intentional and cared for.
Making Caramel from Scratch
If you want to skip the store bought caramel, unwrap 14 soft caramels and melt them with 2 tablespoons heavy cream in the microwave. Stir every 30 seconds until smooth, then let it cool slightly before spreading. The texture is incredible and you can customize the salt level to your taste.
Chocolate Choices Matter
I've tried every chocolate variety, and while milk chocolate is classic, dark chocolate creates this sophisticated contrast that adults seem to gravitate toward. Semi sweet falls somewhere in the middle if you want to hedge your bets. Whatever you choose, chop it evenly so it melts at the same rate.
Storage and Make Ahead Tips
These cookies actually improve after a day as the flavors meld together. Store them in an airtight container with parchment between layers, and keep them somewhere cool. Room temperature is fine for up to 5 days, or freeze them for up to a month if you need to get ahead of holiday baking.
- Freeze the undecorated shortbread cookies if you want to assemble them later
- Let frozen cookies thaw completely before adding caramel and chocolate
- Room temperature storage prevents chocolate from blooming or developing those weird white spots
 Save to Pinterest
 There's something deeply satisfying about recreating a candy bar classic in your own kitchen, and the way people's eyes light up when they realize what they're eating never gets old. Make a batch, share them with someone you love, and watch them disappear.
Recipe FAQs
- → What type of butter works best for the shortbread?
-
Unsalted butter softened to room temperature ensures the best texture and flavor for the shortbread base.
- → Can I substitute the caramel layer?
-
Yes, thick caramel sauce or dulce de leche can be used, and adding a pinch of sea salt enhances the flavor.
- → How do I melt chocolate without burning it?
-
Use a double boiler method by placing chopped chocolate and butter in a heatproof bowl over simmering water, stirring until smooth.
- → How long should the layers chill before serving?
-
Chilling 30 minutes after caramel spreading and another 15 minutes after chocolate topping ensures layers set properly.
- → Can dark chocolate be used instead of milk chocolate?
-
Yes, dark or semi-sweet chocolate can be substituted for a richer, less sweet finish.