 Save to Pinterest
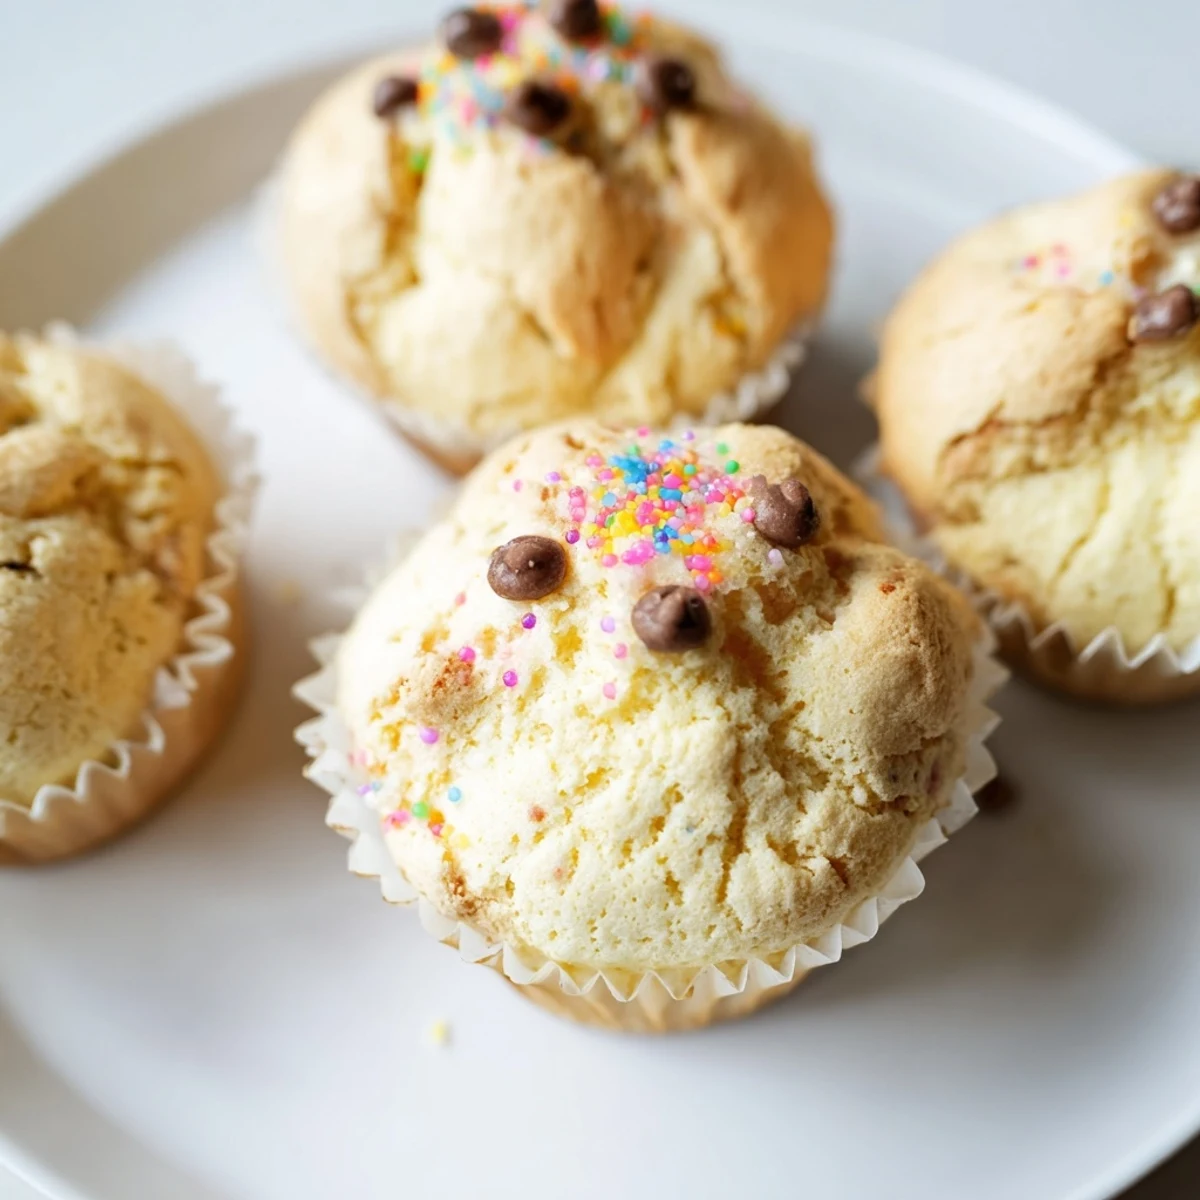
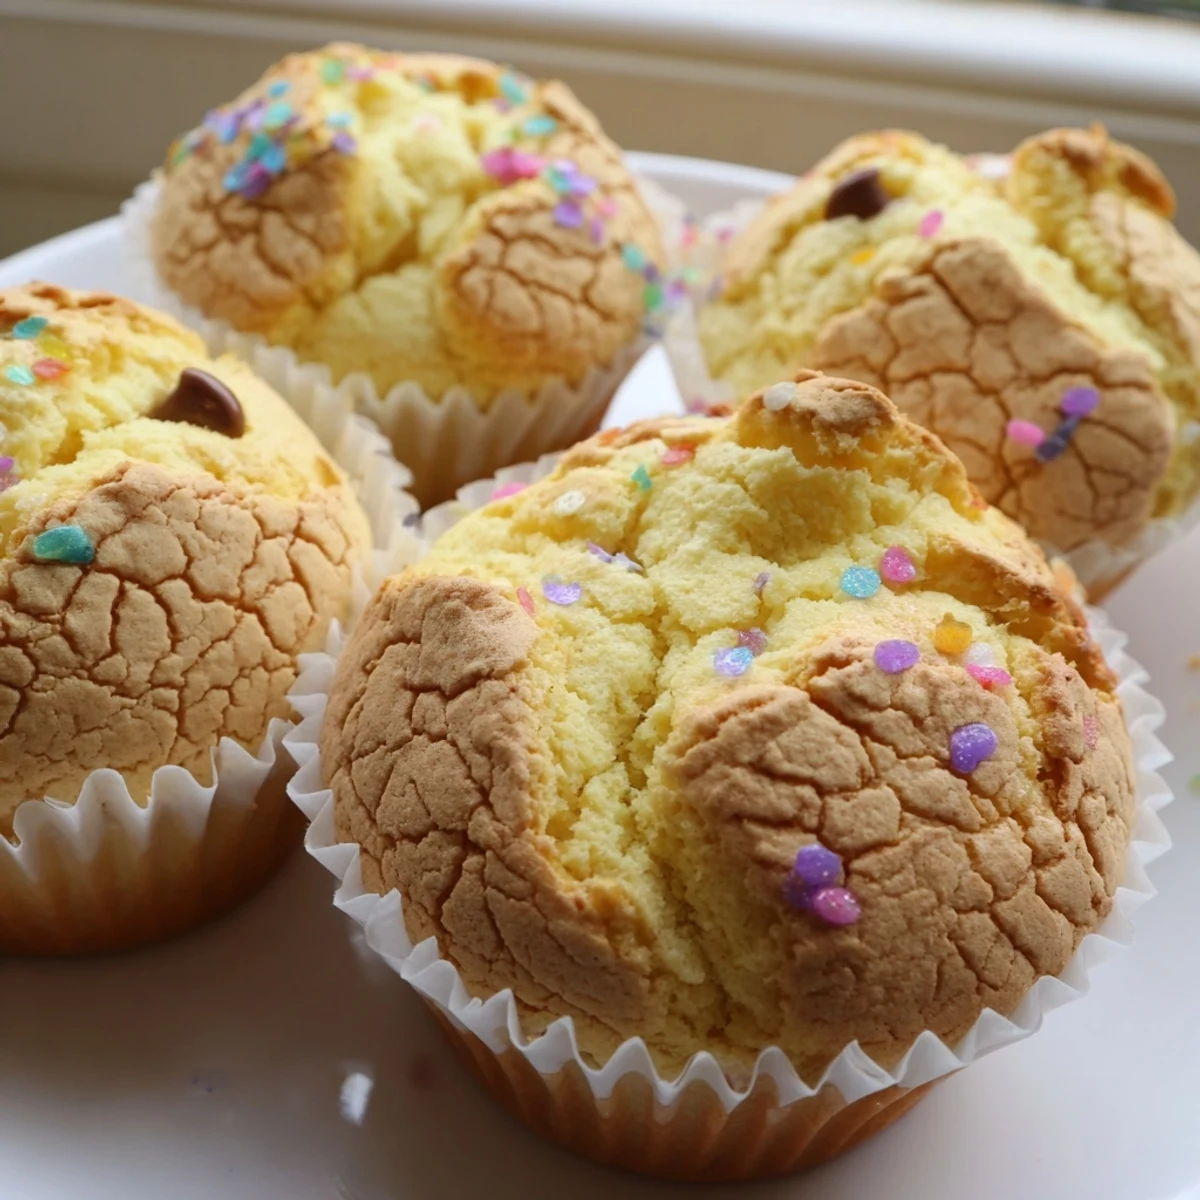
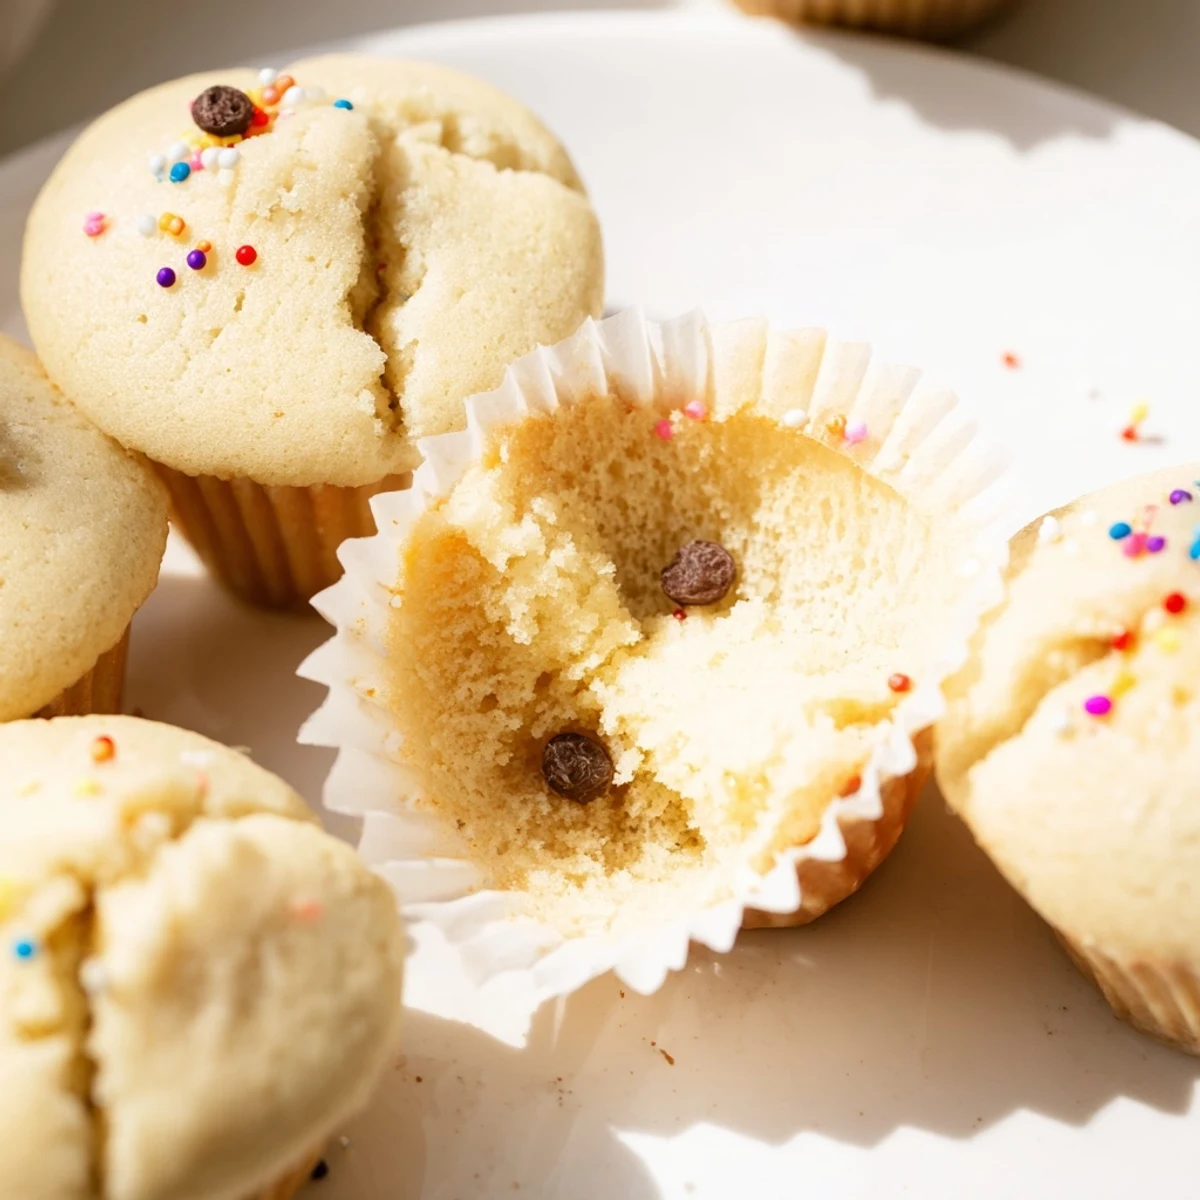
 These delightful steamed cupcakes feature a signature blooming appearance with cracked, domed tops that form naturally during the steaming process. The result is an incredibly moist, tender crumb that rivals oven-baked versions. Perfect for those without oven access or seeking quicker preparation times.
The technique involves folding whipped eggs and sugar into flour, then steaming in cup molds for 12-15 minutes. The gentle heat creates the characteristic blooming effect while keeping the interior incredibly moist. Customize with natural colors like matcha or beet powder, add citrus zest for extra flavor, or finish with sprinkles and edible flowers.
This method works exceptionally well for humid climates and produces consistently fluffy results every time.
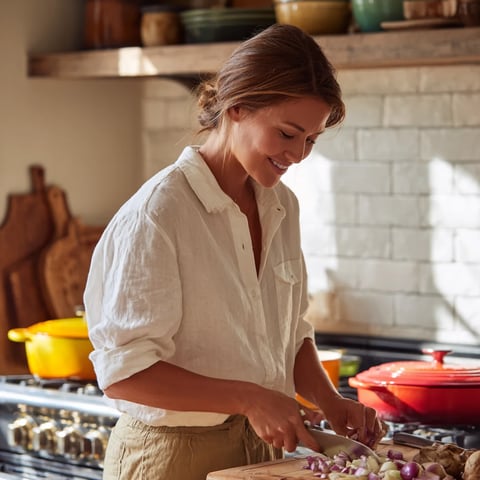
The kitchen was already sweltering at 2 AM when I decided I needed cupcakes, but our oven had died three days earlier. I remembered watching my grandmother steam cakes in her tiny apartment kitchen back in Mumbai, where ovens were considered extravagant luxuries. Something about steam seemed gentler, more forgiving than the aggressive dry heat of an oven. That night, with a borrowed steamer and desperation as my main ingredient, I discovered something magical.
My roommate stumbled in for a glass of water just as I lifted the steamer lid, and the smell of warm vanilla stopped her mid complaint. We sat on the kitchen floor eating slightly too warm cupcakes, watching steam curl toward the ceiling in the moonlight. She asked why they cracked open on top like flowers, and I admitted I had no idea, but I was grateful for the beautiful accident. Now every time I see that blooming pattern, I remember that unexpected midnight feast and how sometimes broken equipment leads to better discoveries.
Ingredients
- 1¾ cups all-purpose flour: The structure behind the fluff, dont pack it down when measuring
- 1 tsp baking powder: This creates those gorgeous cracks on top
- ½ tsp baking soda: Works with the acid in your ingredients for extra lift
- ⅛ tsp salt: Just enough to make the vanilla sing
- ¾ cup granulated sugar: Sweetness and tenderness in equal measure
- 2 large eggs: Must be room temperature or they wont incorporate properly
- ½ cup whole milk: Adds richness and keeps everything tender
- ⅓ cup melted unsalted butter: Butter gives flavor that oil just cannot match
- 1 tsp vanilla extract: Use the good stuff, it makes all the difference
Instructions
- Get your steamer ready:
- Fill your steamer with water and bring it to a gentle simmer while you work, then line your cupcake molds with paper liners.
- Mix the dry team:
- Whisk together flour, baking powder, baking soda, and salt in a bowl, making sure everything is evenly distributed.
- Whip the wet ingredients:
- Beat eggs and sugar until the mixture turns pale and thick, then add milk, melted butter, and vanilla extract.
- Bring them together gently:
- Fold the dry mixture into the wet ingredients just until combined, being careful not to overwork the batter.
- Add color if you want:
- Divide batter and fold in food coloring, then layer or swirl for that marbled blooming effect.
- Fill your molds:
- Spoon batter into prepared molds, filling each about three quarters full to leave room for rising.
- Steam with care:
- Place molds in the steamer with space between them, and cover the lid with a clean cloth to catch condensation.
- Let them bloom:
- Steam over medium heat for 12 to 15 minutes until a toothpick comes out clean and tops have cracked beautifully.
- Finish with flair:
- Let them cool slightly, then decorate with sprinkles, edible flowers, or chocolate chips as you please.
 Save to Pinterest
 My five year old niece asked if I could make rainbow cupcakes for her birthday, and I panicked because my oven was still broken. We stood around the steamer watching in wonder as the colors swirled and bloomed, her eyes getting wider with every passing minute. She told everyone at her party that her auntie made magic cupcakes, and honestly, watching her face light up, I couldnt argue with that assessment.
The Secret Behind The Bloom
Those beautiful cracks happen because steam creates a moist environment that lets the cake rise gently before setting. The top sets last, so as the cake continues to cook underneath, it pushes through the surface in gorgeous jagged patterns. Its nature deciding to decorate for you, and its different every single time.
Making Them Your Own
Citrus zest transforms these entirely, and I have found that lemon zest in spring and orange in autumn feels surprisingly seasonal. The steam method is incredibly forgiving, so do not be afraid to experiment with extracts like almond or coconut. Natural food colorings from matcha or beet powder create the most stunning sophisticated effects.
Storage And Sharing
These actually keep better than oven baked cupcakes because the steaming process locks in moisture. Store them in an airtight container and they will stay soft for days, though they rarely last that long in my house.
- Refrigerate if you plan to keep them longer than two days
- Bring to room temperature before serving for the best texture
- The blooming pattern is prettiest when served fresh
 Save to Pinterest
 There is something profoundly satisfying about creating something beautiful without relying on fancy equipment. These blooming cupcakes taught me that limitations often lead to the most delicious discoveries.
Recipe FAQs
- → Why do the tops crack and bloom during steaming?
-
The beautiful blooming effect occurs when steam escapes through the top of the batter as it rises. The gentle, moist heat causes the cupcakes to puff up dramatically, creating the signature cracked appearance. This is completely normal and actually indicates the cupcakes are steaming correctly.
- → Can I make these without a traditional steamer?
-
Absolutely! You can improvise by placing a heat-proof plate on a trivet inside a large pot with simmering water, or use a bamboo steamer basket. Just ensure the water doesn't touch the cupcakes and cover with a tight-fitting lid wrapped in a cloth to catch condensation.
- → How do I know when the cupcakes are fully cooked?
-
Insert a toothpick into the center of a cupcake—if it comes out clean or with just a few moist crumbs, they're done. The tops should have bloomed and feel springy when gently touched. Over-steaming can make them dense, so check at the 12-minute mark.
- → Can I substitute ingredients for dietary restrictions?
-
Yes! Use gluten-free flour blends for wheat-free versions, plant-based milk and vegan butter for dairy-free options, and flax eggs or commercial egg replacers for egg-free alternatives. Note that texture may vary slightly from the original version.
- → Why is a cloth placed over the steamer lid?
-
Wrapping the lid with a clean cloth prevents condensation from dripping back onto the cupcakes. Water droplets can make tops soggy and interfere with the blooming process. The cloth absorbs steam moisture, ensuring your cupcakes develop perfectly fluffy, dry tops.
- → How should I store these steamed cupcakes?
-
Store in an airtight container at room temperature for up to 2 days, or refrigerate for up to 5 days. They tend to stay moist longer than oven-baked versions due to the steaming process. Bring to room temperature before serving for the best texture and flavor.