Save to Pinterest
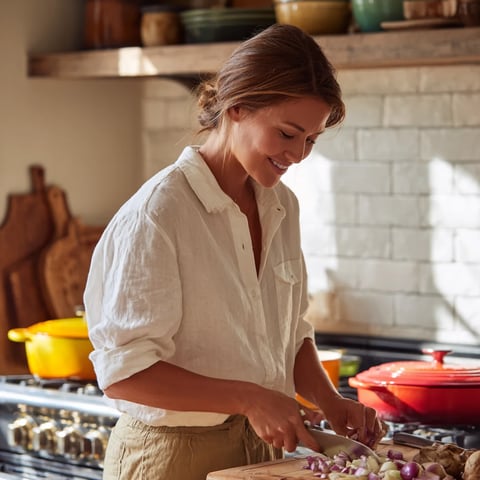
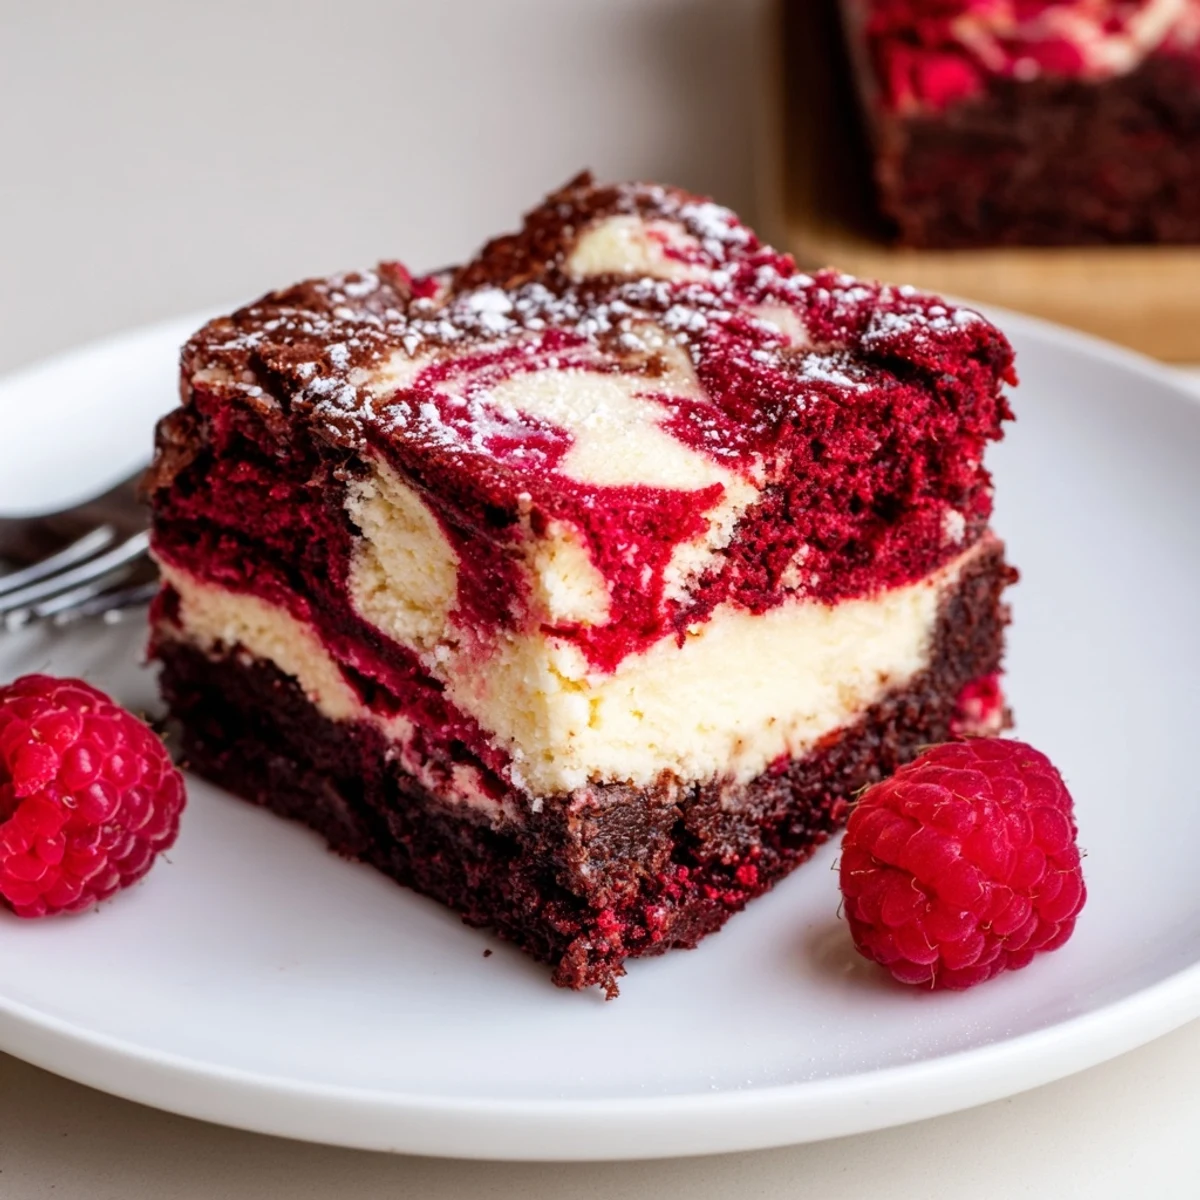
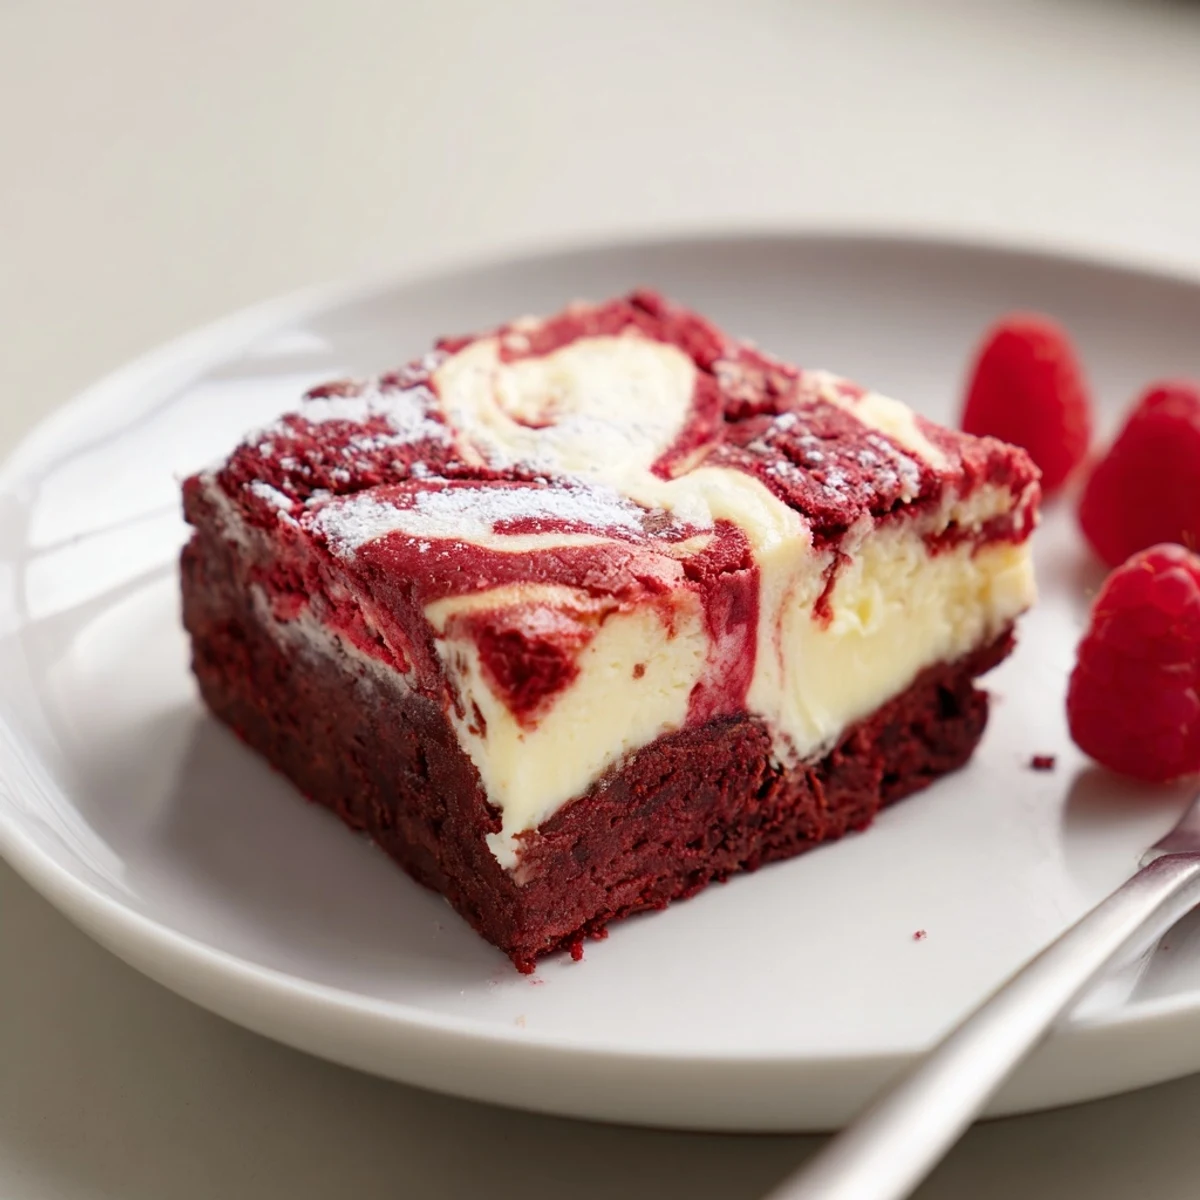
 This decadent bake layers a fudgy red velvet base with a tangy cream cheese topping for a marbled, visually striking finish. Mix melted butter with sugar and eggs, fold in flour and cocoa, then press most of the batter into an 8-inch pan. Beat cream cheese with sugar and egg, spread over the batter, dollop remaining batter and swirl. Bake until set, cool and chill before slicing into 16 squares.
The first time I made these red velvet brownies with a cheesecake swirl, my kitchen was stained with red food coloring and my neighbor stopped by, drawn in by the sweetly tangy aroma drifting into the hall. There's something mischievous about swirling rich cheesecake into velvety crimson brownie batter, especially as you try not to over-marble the top. I remember laughing at how my spatula—despite years of use—looked glamorously artistic afterward. Somehow, the anticipation actually makes the hour chill time worth enduring.
Last Valentine's Day, I baked a pan of these for a friend group movie night, and they disappeared before the opening credits. I can still hear the gentle bickering about who got the swirliest piece. Someone insisted they tasted even better with cold coffee—an unexpectedly perfect pairing. It’s now practically a tradition to bring these whenever a little celebration (or comfort) is needed.
Ingredients
- Unsalted butter (115 g): Melting the butter gives the brownies a dense, rich crumb—you'll want to cool it just slightly before mixing.
- Granulated sugar (200 g for brownies + 65 g for cheesecake): I learned early that evenly whisking this in is key for that smooth, fudgy finish.
- Eggs (2 for brownies, 1 for cheesecake): Bringing eggs to room temperature prevents curdling and makes both layers extra luscious.
- Vanilla extract (2 tsp for brownies, 1 tsp for cheesecake): Don't skimp—real vanilla deepens both the chocolatey base and tangy top.
- Red food coloring (1 tbsp): Gel coloring makes for dramatic, vibrant brownies and doesn't add extra liquid.
- All-purpose flour (95 g): Sifting the flour keeps the brownie layer soft and free of lumps.
- Unsweetened cocoa powder (15 g): Just enough for that subtle cocoa note, so use your favorite brand for best flavor.
- Salt (1/4 tsp): A little salt sharpens the sweetness and brings balance.
- Cream cheese (225 g): Softened cream cheese blends smoothly—if it's too cold, you'll get lumps.
Instructions
- Prepare the pan and oven:
- Preheat your oven to 175°C and line an 8 inch square pan with parchment, letting the edges hang over for a stress-free lift after baking.
- Make the red velvet batter:
- Whisk melted butter and sugar together until glossy, then add the eggs, vanilla, and food coloring, enjoying as the batter turns a brilliant red.
- Combine dry ingredients:
- Sift flour, cocoa, and salt together, and gently fold this into the wet mix, stopping as soon as the streaks disappear to avoid tough brownies.
- Layer the brownie base:
- Spread about three quarters of this bright batter in your prepared pan—save the last bit for swirling magic later.
- Mix the cheesecake layer:
- In a fresh bowl, beat cream cheese and sugar until smooth and cloud-like, then blend in the egg and vanilla until velvety and uniform.
- Spread the cheesecake layer:
- Pour the cheesecake batter gently over the red velvet base, smoothing carefully to keep the layers distinct.
- Swirl and marble:
- Dollop the remaining red velvet batter on top, then use a knife or skewer to create beautiful swirls without muddling the colors.
- Bake and chill:
- Bake between 33–37 minutes, or until the edges are set and the center barely jiggles; cool completely in the pan, then refrigerate at least an hour for clean slices and perfect texture.
 Save to Pinterest
 One summer picnic in the city park, a stray breeze swept powdered sugar off these brownies and onto a friend’s nose, and we ended up laughing longer than we ate. Ever since, I always bring a little extra for dusting and sharing the joke. That’s when I learned these treats have the power to turn any ordinary afternoon into something memorable. Sometimes, it’s not the food but the laughter it brings that makes a recipe special.
Chocolate Chips Or Not—Let’s Talk Mix-Ins
I’ve tried sprinkling chocolate chips between the layers for a richer bite, and the pockets of melted chocolate are genuinely next level. Once, I used a mix of milk and dark chips for extra variety—delicious but almost overshadowed the cheesecake. The classic plain version still wins for balance, but adding nuts is tempting when you’re in the mood for crunch.
Tips For That Vibrant Red
I’ve learned gel food coloring delivers a bolder red without watering down your batter; liquid works in a pinch, but use a little more. It’s wise to mix the coloring with the wet ingredients so you catch any paler streaks early on. And yes, it’s worth wearing gloves if you’re a hands-on kind of baker—red fingertips can last for days.
Serving Suggestions For Maximum Joy
Chilling before serving is non-negotiable for those tidy, defined layers and ideal fudgy-to-creamy contrast. Sometimes, I plate them with fresh strawberries or a scatter of blueberries for a pop of color and a tangy counterpoint. A dusting of powdered sugar right before serving always looks magical, especially if you’re sharing.
- If making ahead, slice just before serving to keep edges neat.
- Leftovers (if you’re lucky) stay moist in the fridge for up to 3 days.
- Don’t skip the parchment overhang—it truly saves any sticky situation.
 Save to Pinterest
 I hope you find joy in swirling these layers together and the simple pleasure of sharing them. Here’s to little kitchen adventures that brighten even an ordinary day!
Recipe FAQs
- → How do I get a vibrant red color?
-
Use a concentrated gel or paste food coloring for the deepest hue; add a little at a time until you reach the desired shade. Avoid overmixing after adding color to keep the batter tender.
- → How can I prevent the cheesecake layer from cracking?
-
Beat the cream cheese until smooth but avoid overbeating once the egg is added. Bake until the center is mostly set and cool gradually, then chill fully to help the topping stabilize.
- → Any tips for a pronounced marbled effect?
-
Reserve about a quarter of the red batter to dollop on top of the cheesecake layer. Use a knife or skewer to swirl through the layers in slow, deliberate motions for visible veins of color.
- → What yields the cleanest slices?
-
Chill the baked slab for at least an hour, then use a sharp knife wiped clean and lightly warmed between cuts. Refrigeration firms the structure and reduces crumbling.
- → Can I add mix-ins like chocolate chips?
-
Yes—sprinkle chips over the brownie batter before adding the cheesecake layer so they sink slightly and stay distributed. Use semi-sweet or dark chips to balance sweetness.
- → How should leftovers be stored and for how long?
-
Keep cooled squares refrigerated in an airtight container for up to 4–5 days. For longer storage, freeze tightly wrapped portions for up to 2 months and thaw overnight in the fridge.