 Save to Pinterest
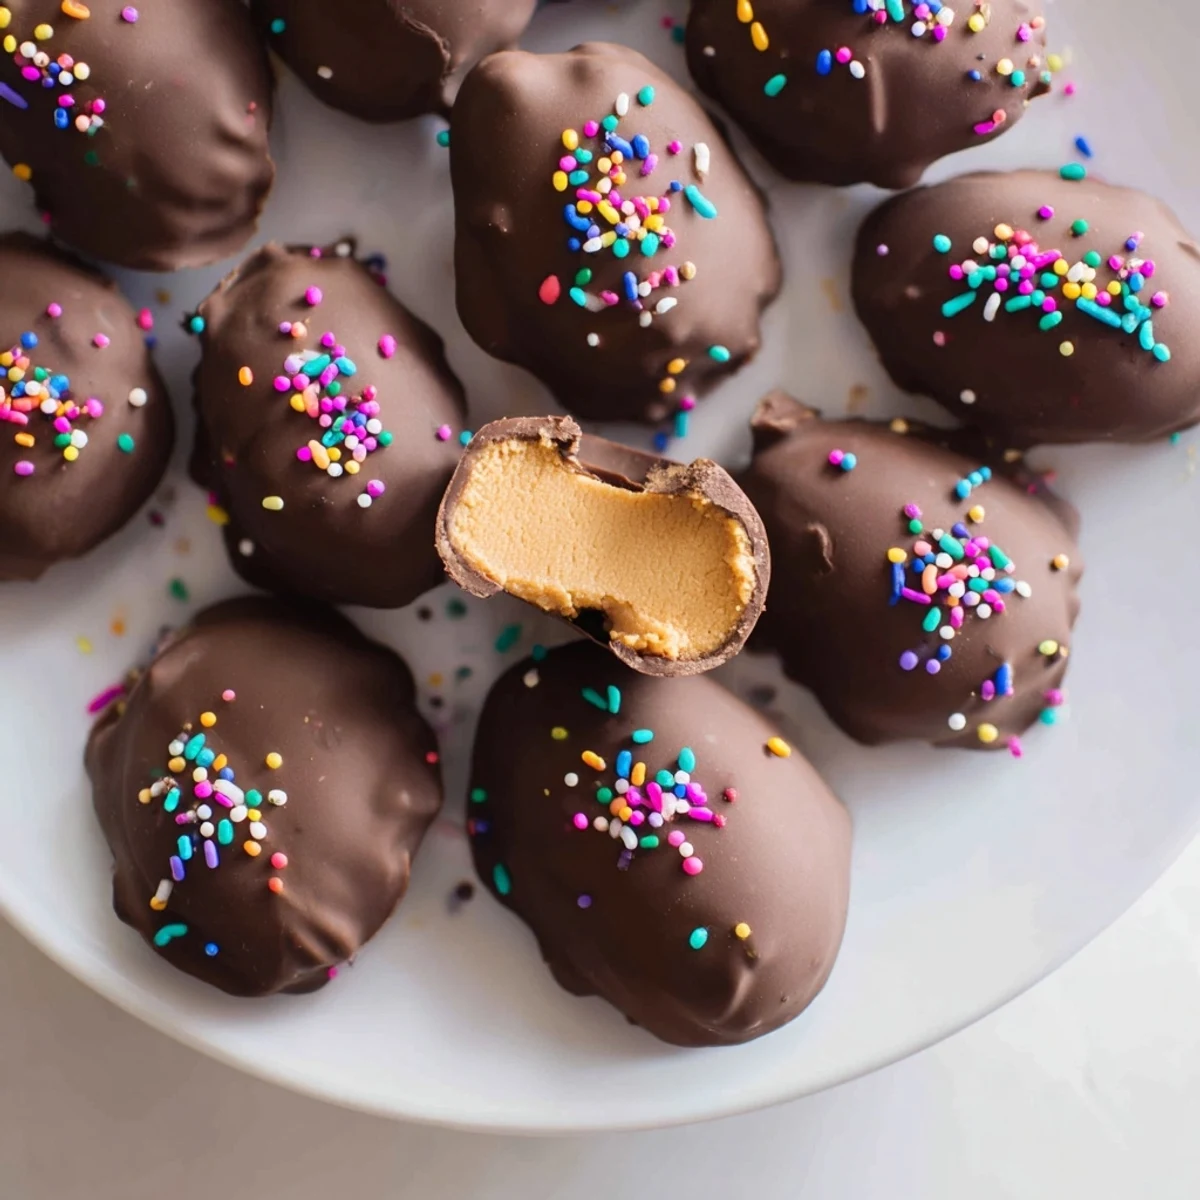
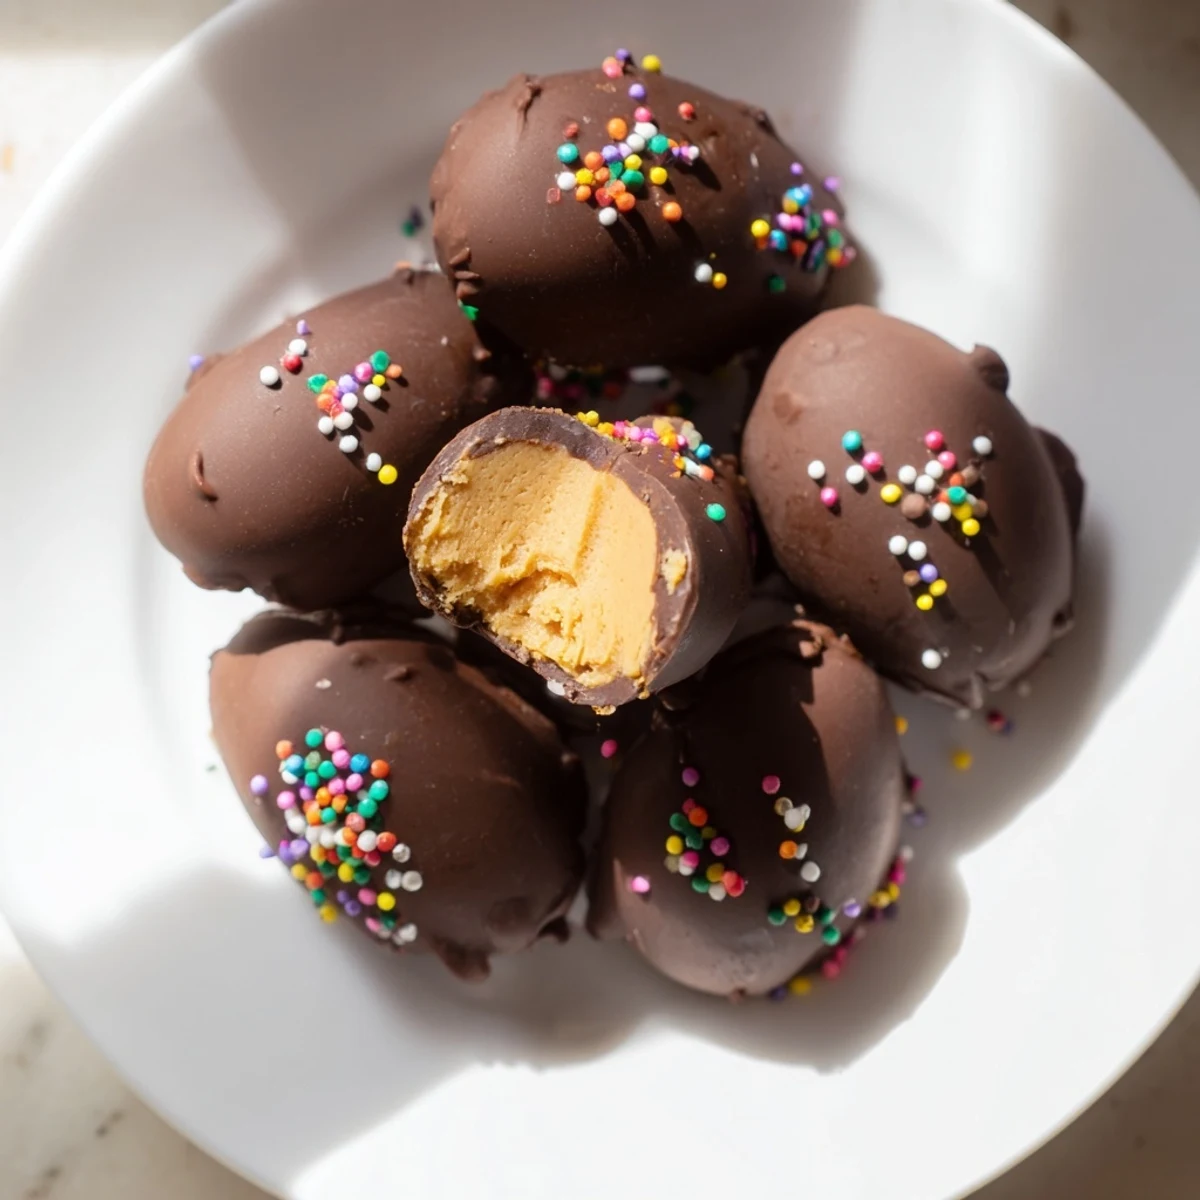
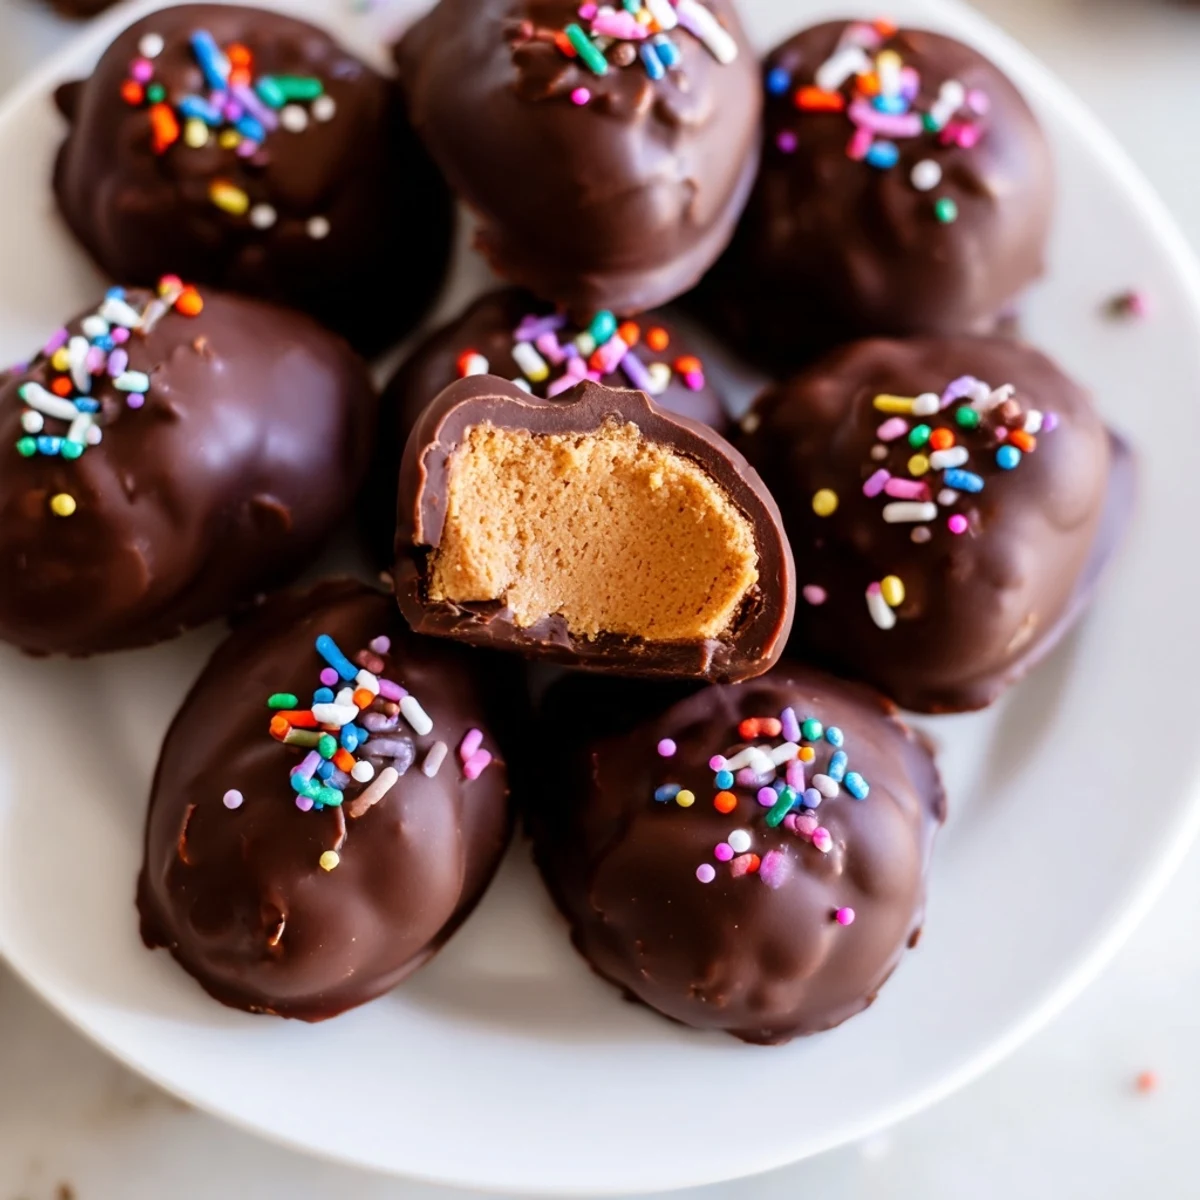
 Create classic peanut butter cups in egg shape with this simple no-bake technique. The creamy filling combines peanut butter, butter, and powdered sugar into moldable dough that shapes beautifully into ovals. After chilling, dip each piece in melted chocolate for that signature snap when you bite. These handmade confections stay fresh for over a week, making them ideal for preparing ahead of Easter brunch or spring gatherings.
My kitchen counter still has chocolate fingerprints from last Easter when my niece decided she needed to help with the dipping station. We ended up with more chocolate on our faces than on the eggs, but those imperfect, lumpy homemade treats disappeared faster than the fancy ones from the store.
Last year I made a double batch for a neighborhood gathering and watched a grown man admit he hid three in his pocket to take home. There is something genuinely charming about homemade candy that makes people revert to childhood excitement.
Ingredients
- Creamy peanut butter: I have learned that the mainstream brands work better than natural ones here because they hold their shape better and do not separate when chilled
- Unsalted butter: Softening this to room temperature is nonnegotiable unless you want an arm workout trying to mix stiff peanut butter paste
- Powdered sugar: This transforms the peanut butter from a spread into something moldable, creating that classic egg texture
- Vanilla extract: Do not skip this even though it seems like a small amount it rounds out the peanut butter flavor beautifully
- Semisweet chocolate: The chips work fine but chopping a good quality bar gives you that professional looking coating
- Coconut oil: This thins the chocolate just enough so it coats smoothly instead of clumping up
Instructions
- Mix the filling base:
- Beat the peanut butter and butter together until they become one smooth mixture, then stir in your vanilla and pinch of salt
- Create the dough:
- Gradually add the powdered sugar, mixing until the dough holds together when you squeeze it but is not sticky
- Shape your eggs:
- Scoop about 2 tablespoons per egg and roll them between your palms into ovals, placing each on your lined baking sheet
- Chill thoroughly:
- Freeze the shaped eggs for a full 30 minutes because warm eggs will make your chocolate seize up into a mess
- Prepare the chocolate:
- Melt the chocolate with coconut oil in 30 second bursts, stirring between each until it flows like warm honey
- Dip and coat:
- Use a fork to lower each egg into the chocolate, lift it out, and tap gently against the bowl rim to remove excess coating
- Set and finish:
- Add sprinkles while the chocolate is still wet if you are using them, then chill everything until the coating snaps when touched
 Save to Pinterest
 My grandmother kept a special candy dish just for these, and I still catch myself looking for it every year even though she has been gone for years. Food has this way of carrying forward the people we loved through the recipes they made us smile over.
Getting the Shape Right
Some people use egg shaped molds but I prefer the hand shaped look because it shows someone actually made them. Roll them between your palms with light pressure and they will naturally take on an organic egg shape.
Chocolate Temperature Matters
If your chocolate is too hot it will slide right off the eggs and leave thin spots. Let it cool for a few minutes after melting until it feels like warm bath water when you dip your finger in.
Storage and Gifting
These need to stay refrigerated because of the butter but should come out about 15 minutes before serving for the best texture. Layer them between parchment paper in an airtight container so they do not stick together.
- Wrap individual eggs in clear bags tied with pastel ribbon for instant Easter gifts
- Add a pinch of sea salt on top of the wet chocolate for a salted chocolate version
- These freeze well for up to a month if you want to make them way ahead of time
 Save to Pinterest
 There is something deeply satisfying about pulling out a container of homemade candies you made yourself, and these peanut butter eggs might just become the thing your people start asking for every year.
Recipe FAQs
- → How long do these peanut butter eggs last?
-
Store in an airtight container in the refrigerator for up to one week. The chocolate coating stays fresh and the filling remains perfectly creamy when chilled.
- → Can I freeze these chocolate-covered eggs?
-
Yes, freeze the shaped peanut butter filling before dipping. Once coated in chocolate, store in the freezer for up to 3 months. Thaw in the refrigerator before serving.
- → What type of chocolate works best for coating?
-
Semisweet chocolate chips provide the classic flavor balance. For a glossier finish, use chopping bars or candy melts. Adding coconut oil helps the chocolate set smoothly.
- → Can I make these without peanut butter?
-
Substitute almond butter, sunflower seed butter, or cashew butter for a different nutty profile. The texture and sweetness remain consistent across various nut butters.
- → Why is my peanut butter mixture too soft to shape?
-
Chill the dough for 15-20 minutes before shaping. If still too soft, add more powdered sugar one tablespoon at a time until it holds its shape when formed into ovals.
- → How do I get smooth chocolate coating?
-
Ensure peanut butter eggs are thoroughly chilled before dipping. Melt chocolate slowly, stir until completely smooth, and tap the fork gently to remove excess coating for an even finish.