 Save to Pinterest
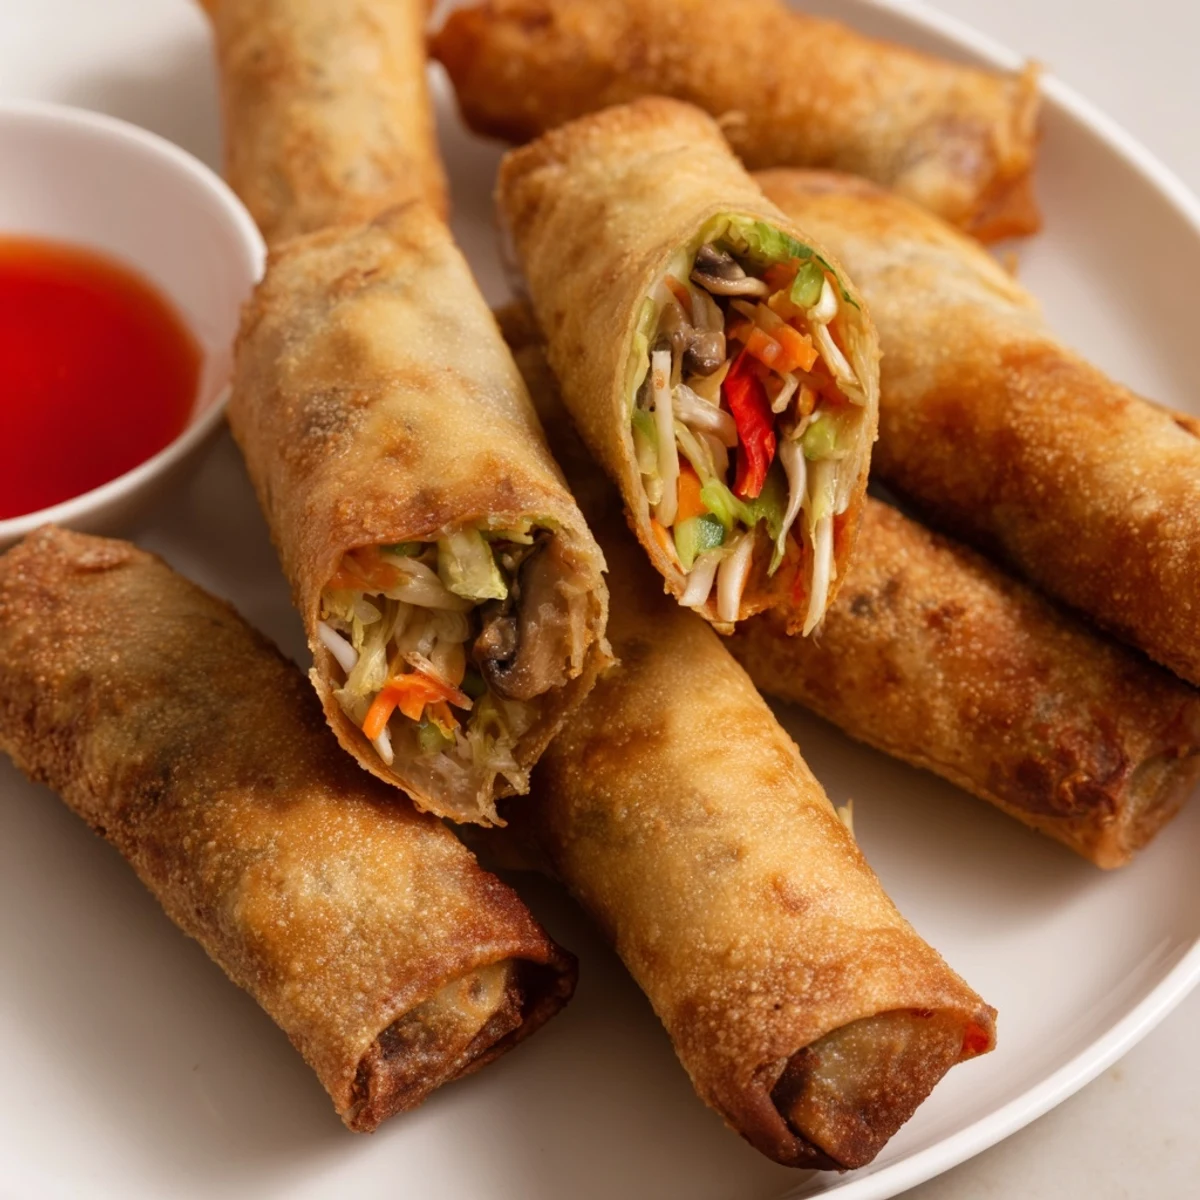
 These handmade Chinese spring rolls feature a colorful medley of shredded cabbage, carrots, bean sprouts, and shiitake mushrooms, seasoned with garlic, ginger, soy sauce, and sesame oil. The vegetables are quickly stir-fried to retain their crisp texture, then wrapped in delicate wrappers and fried to golden perfection. Each bite delivers a satisfying crunch followed by tender, flavorful vegetables. The filling can be prepared ahead of time, making these ideal for entertaining. Serve them hot with sweet chili sauce or soy dipping sauce for an authentic experience.
The first time I attempted homemade spring rolls, my tiny apartment kitchen smelled like ginger and garlic for days. My roommate kept wandering in, asking if they were ready yet, which made the waiting almost unbearable. When we finally bit into those golden crispy rolls, the contrast between the shattering exterior and that still-crisp vegetable filling was absolutely worth every minute of preparation.
Last Chinese New Year, I made these for a potluck and watched them disappear in under ten minutes. My friend Sarah, who claims she hates bean sprouts, went back for thirds and finally admitted she had been picking them out of restaurant spring rolls for years. Theres something magical about homemade versions that converts even the most skeptical eaters.
Ingredients
- Shredded green cabbage: Forms the bulk of the filling and provides that satisfying crunch in every bite
- Shredded carrots: Add natural sweetness and gorgeous color contrast to the filling
- Bean sprouts: Bring essential texture and fresh crunch that cooked vegetables cannot replicate
- Shiitake mushrooms: Contribute deep umami richness that makes vegetable fillings feel substantial
- Bell pepper: Offers sweetness and a pop of color that makes the filling look inviting
- Green onions: Provide mild onion flavor and fresh brightness to cut through the savory elements
- Garlic and ginger: The aromatic foundation that fills your entire kitchen while cooking
- Soy sauce: Creates the salty base and seasons every vegetable evenly
- Oyster sauce: Adds depth and slight sweetness that ties all the flavors together beautifully
- Sesame oil: Just a teaspoon delivers that unmistakable nutty aroma we all love
- White pepper: Provides gentle heat without the visible specks of black pepper
- Spring roll wrappers: The foundation that transforms simple vegetables into something special
- Flour paste: The simple secret that keeps your rolls from unraveling during frying
Instructions
- Prepare the aromatic base:
- Heat a tablespoon of oil in your wok until shimmering, then add minced garlic and grated ginger, stirring constantly for just thirty seconds until the fragrance wafts up and makes your mouth water.
- Cook the harder vegetables:
- Add the cabbage, carrots, mushrooms, and bell pepper to the hot wok, stir-frying vigorously for two to three minutes until they begin to soften but still retain some crunch.
- Add delicate vegetables:
- Toss in the bean sprouts and sliced green onions, cooking for just one minute more so they stay bright and crisp rather than becoming mushy.
- Season the filling:
- Pour in the soy sauce, oyster sauce, sesame oil, and white pepper, tossing everything together for another minute or two until the vegetables are perfectly tender-crisp.
- Cool completely:
- Transfer the filling to a colander and let it cool completely, pressing down gently to remove excess moisture that would otherwise make your spring rolls soggy.
- Roll the spring rolls:
- Place a wrapper with one corner pointing toward you, add about two tablespoons of filling near the bottom, fold that corner over the filling, fold in the sides, and roll tightly upward like a burrito.
- Seal each roll:
- Brush the flour-water paste along the final triangle of wrapper and press firmly to seal, ensuring none of the filling escapes during frying.
- Fry to golden perfection:
- Heat two inches of oil to 350 degrees Fahrenheit and fry the spring rolls in batches for three to four minutes, turning occasionally until they are evenly golden and blisteringly crisp.
- Drain and serve:
- Transfer the finished spring rolls to paper towels to drain excess oil, then serve them immediately while they are still hot and impossibly crispy.
 Save to Pinterest
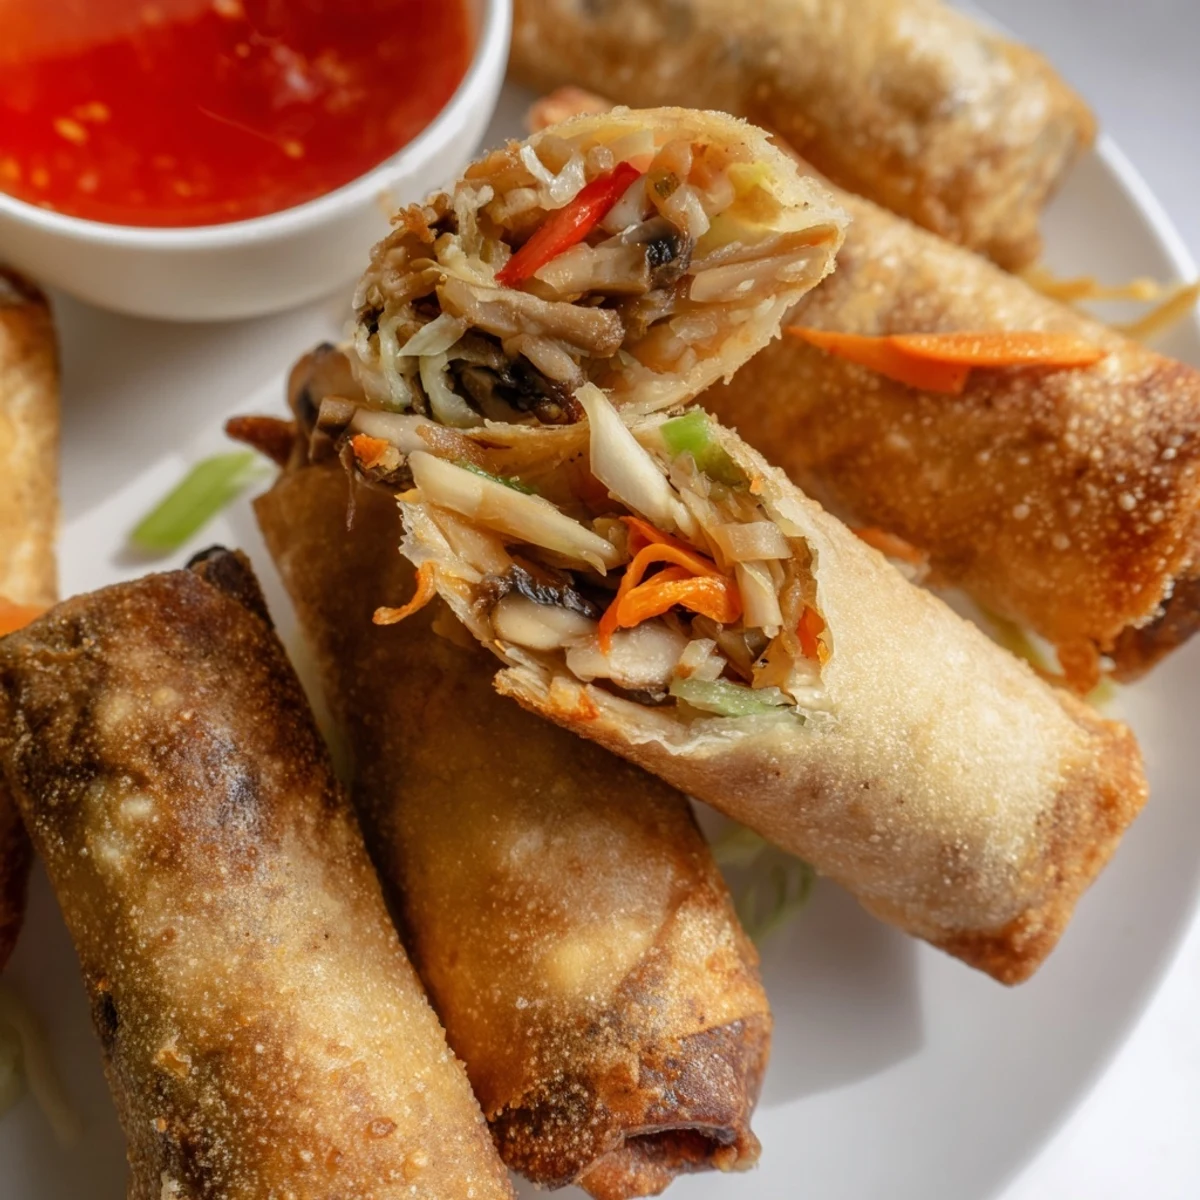
 My grandmother always insisted on eating the first spring roll plain, without any dipping sauce, to truly appreciate the flavors we had worked so hard to create. Now I understand exactly what she meant about respecting the food enough to taste it on its own terms first.
Making Ahead for Success
You can prepare the filling up to two days in advance and store it in an airtight container in the refrigerator. The vegetables actually marinate slightly as they sit, developing deeper flavors that make the final spring rolls even more delicious. Just remember to drain any accumulated liquid before rolling.
Mastering the Rolling Technique
The most common mistake beginners make is overstuffing the wrappers, which leads to tearing during frying or spring rolls that burst open in the hot oil. Keep your filling modest and roll tightly rather than loosely, pulling the wrapper taut as you work to ensure those perfect cylindrical shapes. Practice makes perfect, and by the third or fourth roll you will develop a rhythm that produces restaurant-quality results.
Perfecting Your Frying Setup
A deep fry thermometer eliminates all the guesswork and helps you maintain that ideal 350 degree temperature throughout the frying process. Keep a wire rack over a baking sheet in the oven at 200 degrees so you can keep the first batches warm while you finish frying the remaining spring rolls.
- Never walk away from hot oil under any circumstances
- Use a spider skimmer or slotted spoon for easy removal from the hot oil
- Let the oil return to temperature between batches for consistent results
 Save to Pinterest
 Whether you are serving these for a party dinner or just a Tuesday night treat at home, there is something deeply satisfying about making spring rolls from scratch. The kitchen may be a bit messy afterward, but that first crunch makes every moment worthwhile.
Recipe FAQs
- → Can I bake these spring rolls instead of frying?
-
Yes, baking works beautifully. Brush the rolled spring rolls lightly with oil and bake at 400°F (200°C) for 20-25 minutes, turning once halfway through. They'll be crispy without the deep-frying method.
- → How do I prevent soggy spring rolls?
-
The key is thoroughly draining the cooked filling in a colander and letting it cool completely before wrapping. Removing excess moisture prevents the wrappers from becoming soggy during frying.
- → Can I freeze uncooked spring rolls?
-
Absolutely. Place uncooked spring rolls in a single layer on a baking sheet, freeze until firm, then transfer to a freezer bag. Fry from frozen, adding an extra minute or two to the cooking time.
- → What dipping sauces pair best with these?
-
Sweet chili sauce is the classic choice, but plum sauce, spicy soy dip, or even a simple mix of soy sauce with rice vinegar work wonderfully. The contrast of sweet and tangy enhances the savory filling.
- → Can I add protein to the vegetable filling?
-
Certainly. Chopped firm tofu, cooked shrimp, or ground pork can be stir-fried with the vegetables. For a vegetarian protein option, add glass noodles soaked and cut into short pieces.
- → Why do my spring rolls unravel during frying?
-
This usually happens if the wrapper isn't sealed properly. Use the flour-water paste generously along the final edge and press firmly. Also, avoid overfilling—about 2 tablespoons per roll is ideal.