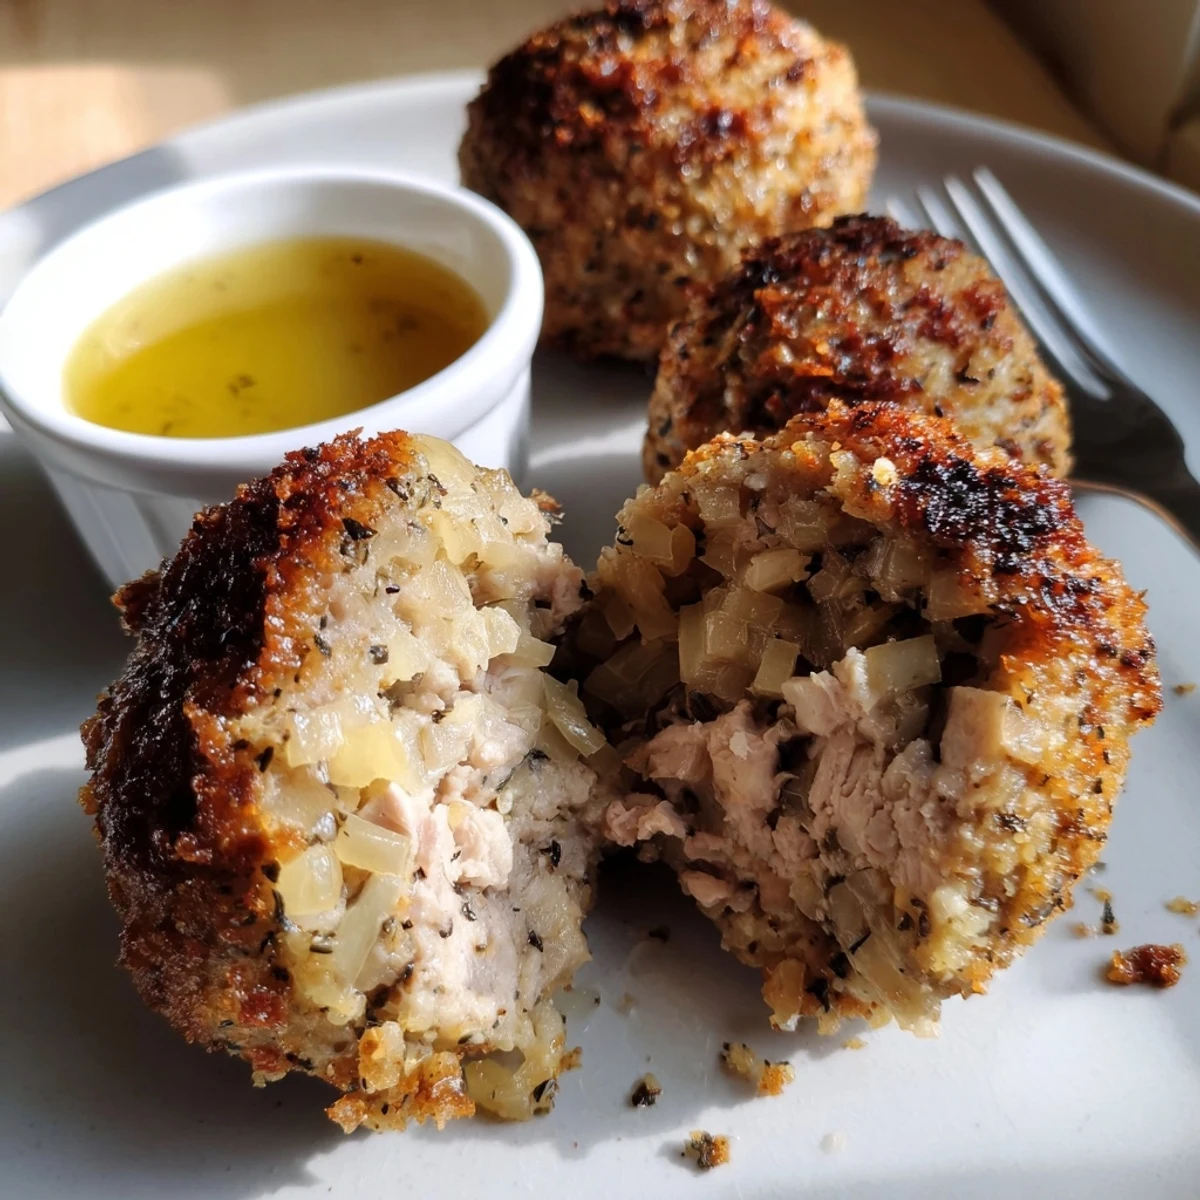
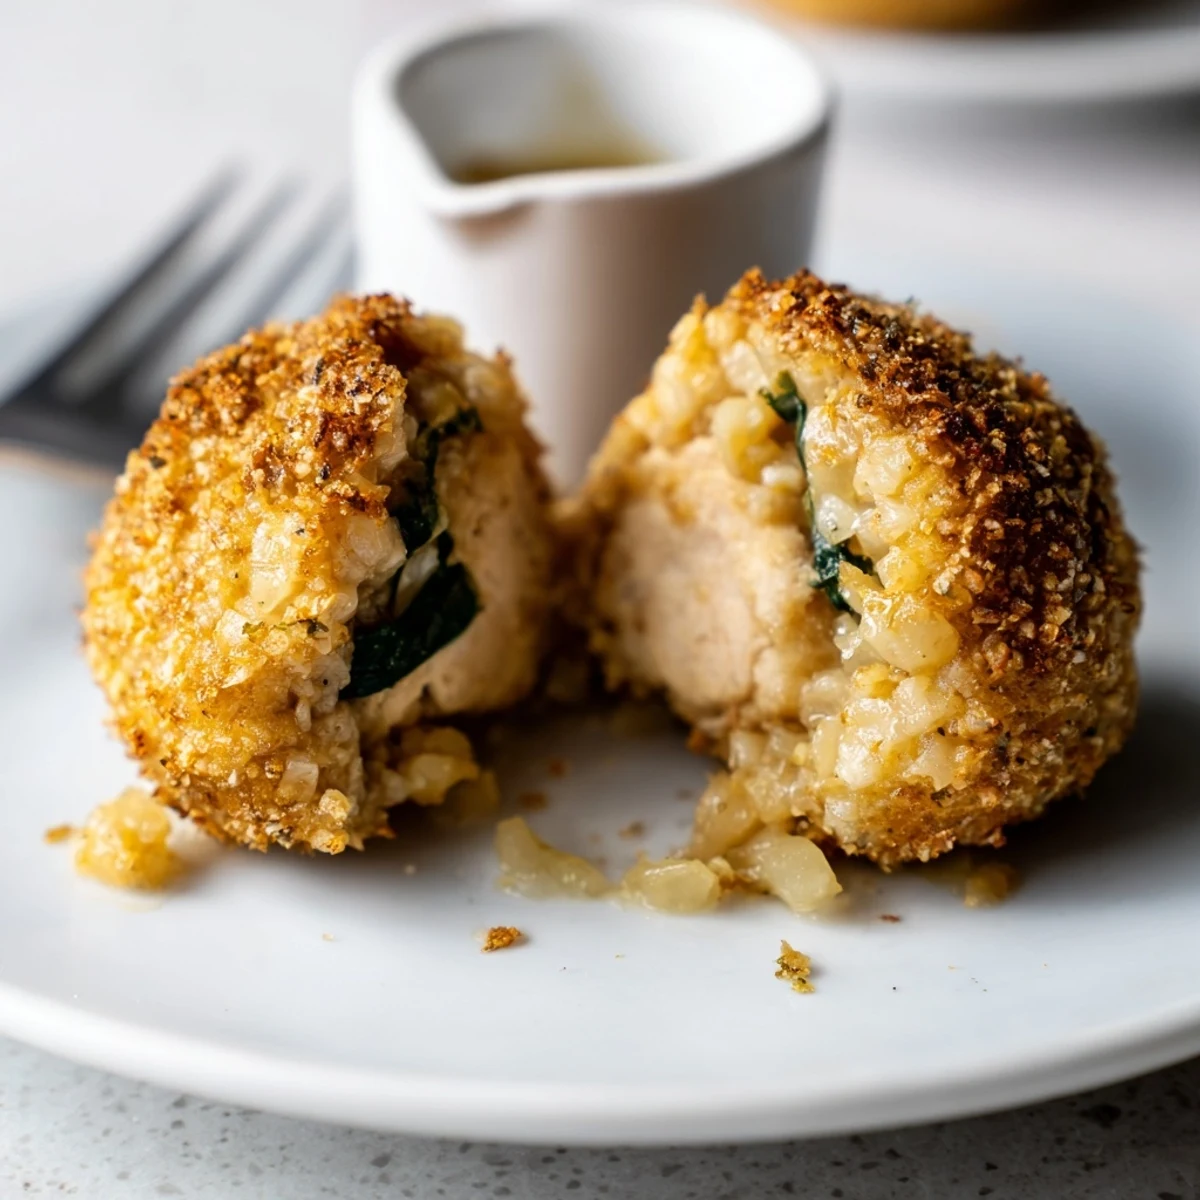
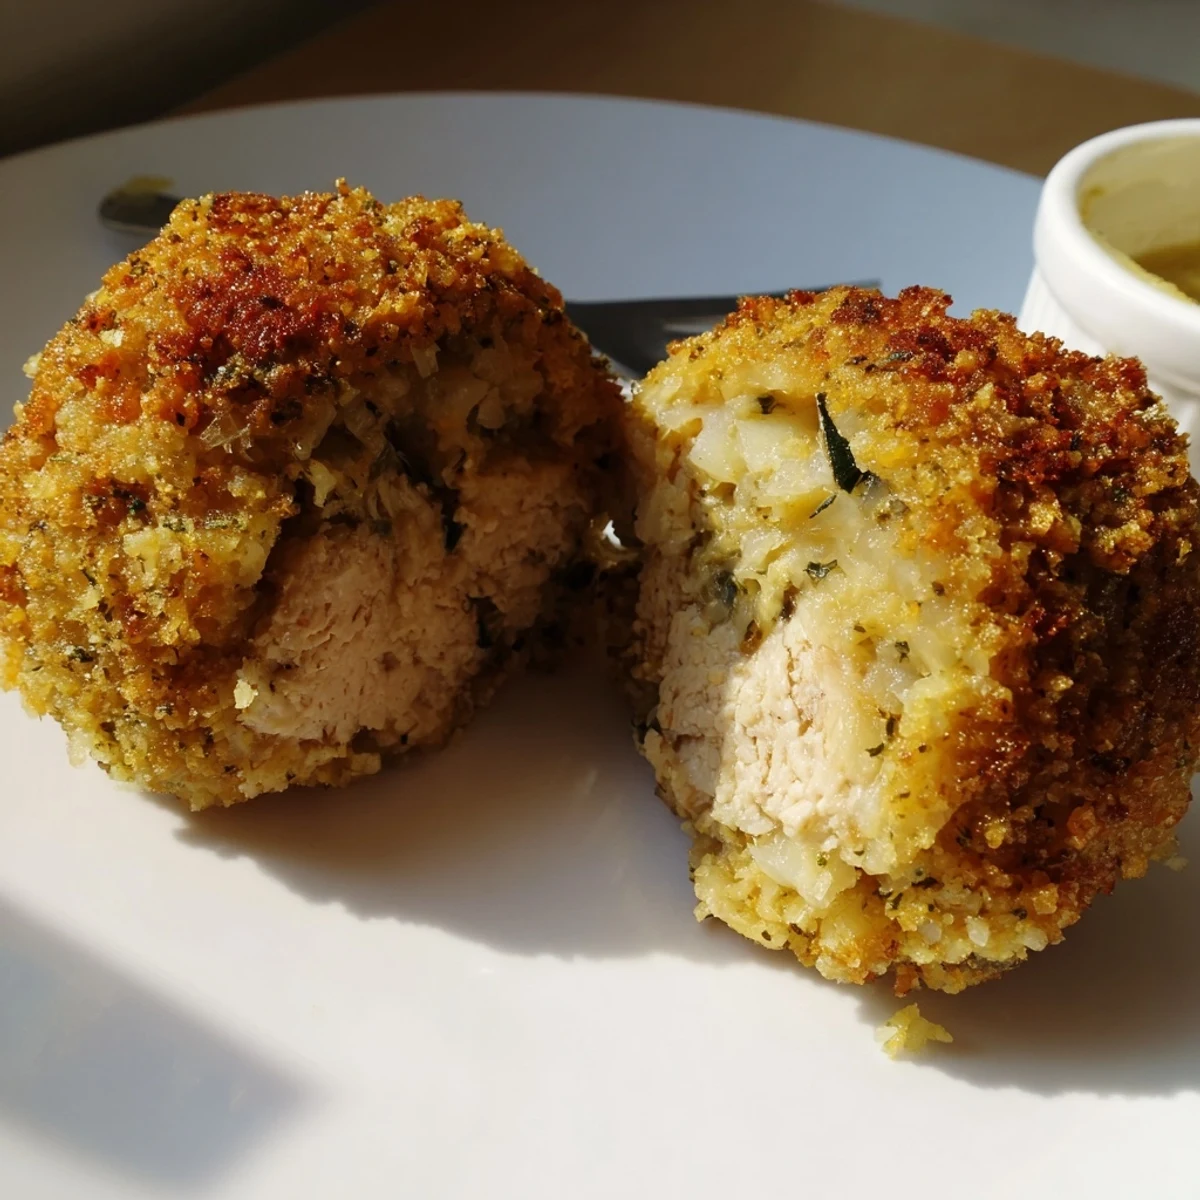
 Save to Pinterest
 Ground thigh chicken is mixed with sautéed onion, garlic and chopped fresh sage, bound lightly with breadcrumbs and an egg. Shape into tablespoon-sized balls, brush with olive oil and bake at 200°C (400°F) for 20–25 minutes until golden and 74°C internal. Serve hot with honey-mustard, cranberry sauce or alongside roasted vegetables. Swap to gluten-free crumbs if needed.
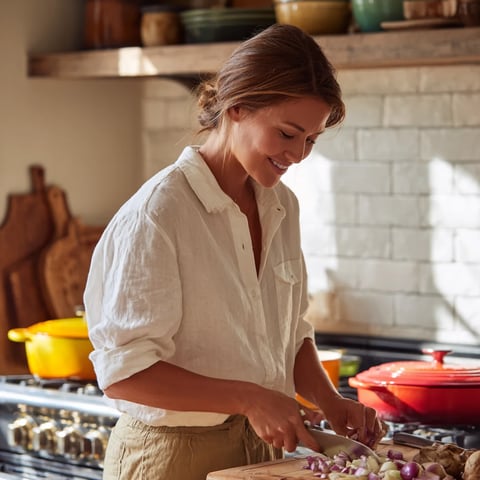
An ordinary Tuesday turned unexpectedly fragrant once sage and sweet onions hit my skillet for these chicken balls. It’s funny how certain recipes sneak up—one minute you’re rummaging for what’s left in the fridge, the next you’re greeted by earthy, herby aromas that stop you in your tracks. The first time I made these, I caught myself pausing mid-chop just to inhale. Even the cat crept close, suspiciously hopeful for a sample.
I made a double batch once when friends dropped by, and the quietest one kept reaching for another ball with a small grin—there were none left by the end of the night. That moment cemented these as my go-to for impromptu gatherings or an easy weeknight main—if you can call juggling a tray of hot chicken and happy friends easy. There’s something quietly rewarding about a recipe that disappears before you even sit down.
Ingredients
- Ground chicken (preferably thigh meat): Thigh meat keeps the texture moist and flavorful, and I’ve learned that pre chilling the meat helps with shaping the mixture.
- Onion (medium, finely diced): Getting the onion finely diced ensures it almost melts into the chicken, giving sweetness in every bite.
- Garlic cloves (minced): A little goes a long way, so mince well to avoid any overpowering bites.
- Fresh sage (finely chopped) or dried sage: Fresh sage truly makes a difference, but the dried version works in a pinch—just use half as much.
- Salt: I started with less and learned to sprinkle a pinch more over the baked balls for a finishing touch.
- Black pepper: Adds just enough background warmth without leading the flavor parade.
- Dried thyme: I sometimes rub it between my palms for extra aromatic spice as it goes in.
- Nutmeg (optional): Only a pinch—one time I used too much and it took over, so go gentle.
- Breadcrumbs (regular or gluten-free): They help hold everything together; I’ve tried both options and gluten-free blends work well if mixed in last.
- Large egg (lightly beaten): The egg is crucial for binding—don’t skip it.
- Olive oil: For both sautéing and brushing; it helps get that golden crust in the oven without frying.
Instructions
- Prep your tray:
- Line a baking tray with parchment or grease it lightly, setting a casual tone and saving you clean up later.
- Sweat the aromatics:
- Heat half the olive oil in a skillet over medium, then add the diced onions and stir until their scent turns sweet and they go glossy—about 3 or 4 minutes; tip in the garlic and wait until it smells nutty, then let everything cool a bit.
- Mix everything gently:
- In a big bowl, combine the chicken, those sautéed aromatics, sage, thyme, salt, pepper, and the merest hint of nutmeg if using—mix with your hands until just combined, like fluffing a pillow, not squishing dough.
- Bring it together:
- Add in breadcrumbs and egg; mix again only until it forms a loose dough, taking care not to overwork so the balls stay tender.
- Shape and arrange:
- With damp hands, scoop up heaping spoonfuls and roll into balls, spacing them out evenly on the sheet—my first batch stuck together until I learned a bit more room is best.
- Add finishing touches:
- Drizzle or brush the balls with the remaining oil; this gives them a crisp, golden edge in the oven.
- Bake with patience:
- Slip the tray into a hot oven and bake for 20 to 25 minutes, turning each ball halfway so they brown evenly; you’ll know they’re done when golden and juicy, with a satisfying sizzle as you cut through.
- Serve and enjoy:
- Enjoy these piping hot with your favorite dip, or make a quick wrap if you’re feeling casual—I love them with a swipe of honey-mustard on a weeknight.
 Save to Pinterest
 There was a time these chicken balls became more than just a recipe—my brother and I ate them straight off the tray, standing in the kitchen, laughing over how the batch looked oddly shaped but tasted unbelievably good. They’ve since turned into my kitchen’s instant cure for chilly nights or unexpected company, no matter how they look.
Making It Gluten-Free (And Still Delicious)
I’ve served these chicken balls to friends with gluten intolerance and honestly couldn’t tell the difference—use a good quality gluten-free breadcrumb, and check labels on everything. They crisp up nearly the same, and nobody misses the gluten, especially when the sage takes the spotlight.
Perfect Pairings and Dips
These really come alive with a dipping sauce—honey-mustard is my secret indulgence, but cranberry sauce gives them a cheery tang around the holidays. Roasted root veggies, a crisp green salad, or even tucking a few balls into a wrap makes any meal feel like a little party.
What to Do With Leftovers (If Any Survive)
Leftover chicken balls almost never last, but when I do have extras, they’re brilliant cold or reheated in a sandwich or chopped up for a salad. Don’t be surprised if you find yourself eyeing the fridge for a midnight snack.
- Wrap in foil and warm in a low oven for best results.
- A splash of lemon juice brightens up day old balls beautifully.
- Save a couple to dice into soup or toss over pasta, for a whole new meal.
 Save to Pinterest
 Whether you serve these sage onion chicken balls to friends or keep them all to yourself, there’s a quiet, kitchen table magic in every bite. Here’s to good smells, happy accidents, and dinners that bring everyone closer.
Recipe FAQs
- → How do I keep the balls moist?
-
Use thigh meat for more fat, avoid overmixing, and include a binder like breadcrumbs plus an egg. A light brush of olive oil before baking helps retain juiciness.
- → Can I freeze them before or after cooking?
-
Yes. Freeze uncooked shaped balls on a tray, then transfer to a bag; bake from frozen adding a few extra minutes. Cooked balls also freeze well—reheat gently in the oven.
- → What can I use instead of breadcrumbs?
-
For gluten-free options try ground oats, almond meal or crushed gluten-free crackers. Cooked rice or finely grated potato can also bind while keeping texture tender.
- → Should I bake or pan-fry?
-
Baking gives an even, lower-fat result and is hands-off; pan-frying yields a crisper crust and faster browning but requires more oil and attention. Either works—turn halfway for even color.
- → How can I tell when they are cooked through?
-
Use an instant-read thermometer: target 74°C (165°F) in the center. Alternatively, cut one open—there should be no pink and juices should run clear.
- → What flavor variations work well?
-
Add lemon zest and parsley for brightness, a pinch of chili flakes for heat, or mix in grated Parmesan for umami. Serve with honey-mustard, cranberry, or a yogurt-herb dip.