 Save to Pinterest
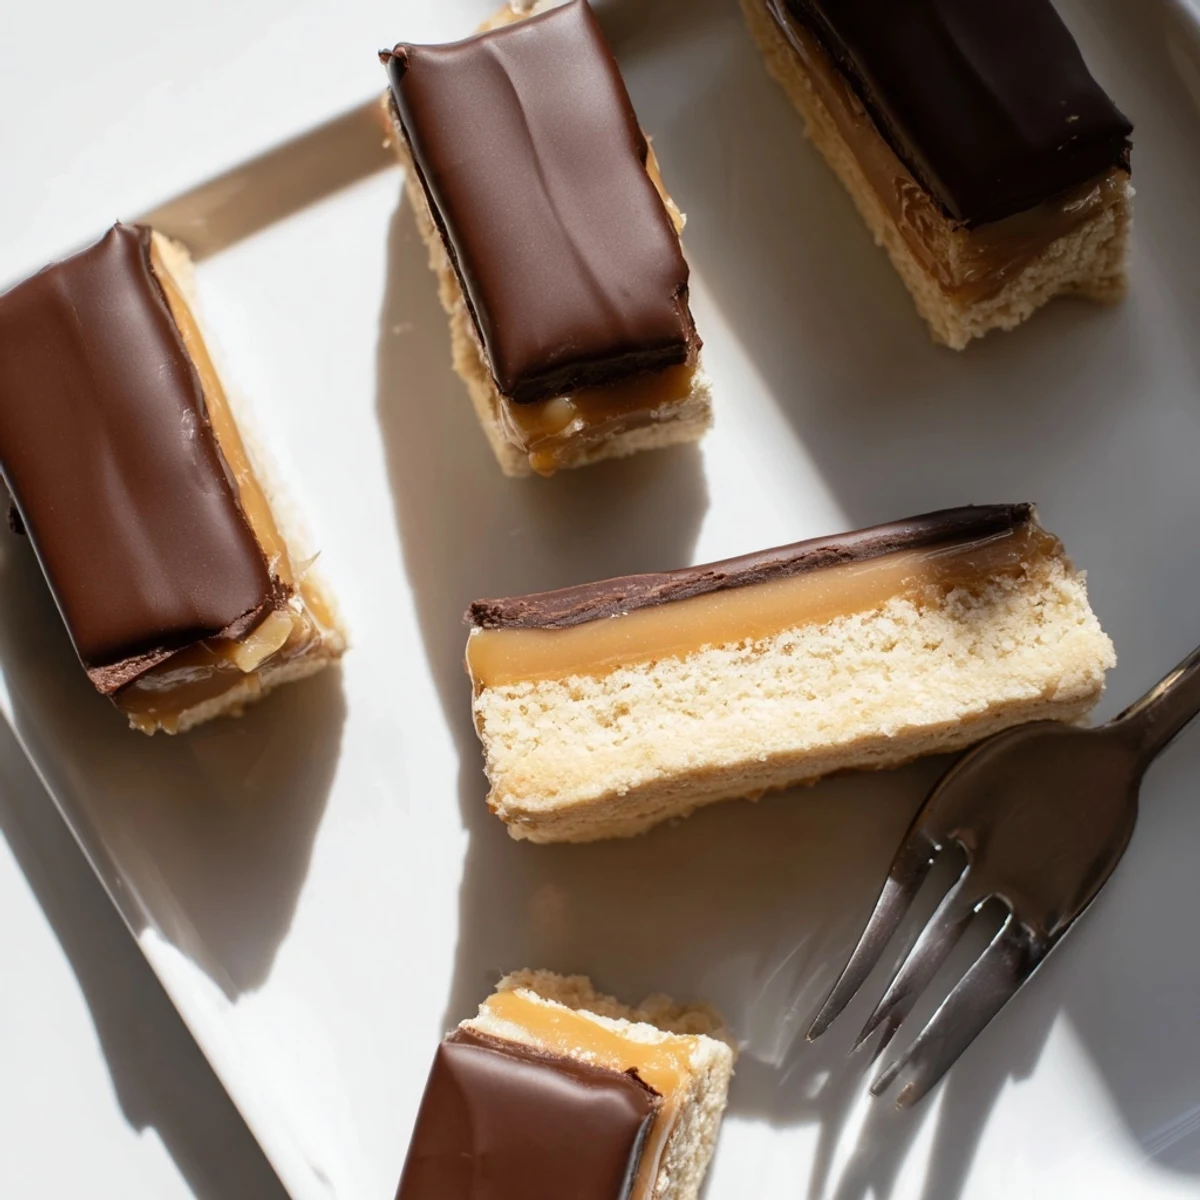
 These Twix-inspired dessert bars feature three irresistible layers: a tender, buttery shortbread base; a smooth, golden caramel center; and a glossy milk chocolate topping. The process begins with pressing a simple shortbread dough into a pan and baking until golden. Next, cook the caramel mixture until it reaches the perfect consistency, then spread it generously over the cooled base. Finally, crown it with melted chocolate for the ultimate finishing touch. The result is a decadent treat that rivals the classic candy bar, yielding 16 indulgent bars perfect for gatherings or thoughtful gifting.
Last summer my niece announced she was marrying her college sweetheart and asked if I could make something special for the engagement party. She mentioned her fiancé's absolute weakness was anything with caramel and chocolate together, and this homemade Twix concept popped into my head during a midnight grocery run. I ended up making three test batches before getting the ratios right, and the kitchen smelled like buttery heaven for days.
The engagement party guests went absolutely quiet when they first bit into these bars, and then the room just filled with these little appreciative murmurs. My niece's new mother in law cornered me in the kitchen within ten minutes, pen and paper in hand, demanding the recipe. Now every family gathering involves someone casually asking if I might be bringing those incredible caramel bars.
Ingredients
- Unsalted butter (softened for base, melted for caramel): Using room temperature butter for the shortbread creates that tender melt in your mouth texture, while melted butter blends seamlessly into the caramel
- Granulated sugar: Sweetens the shortbread just enough to complement the richer layers above without competing
- All purpose flour: The structure builder for your buttery foundation, but do not overmix or you will lose that delicate crumb
- Fine sea salt: A quarter teaspoon might seem small but it is what makes all the sweet layers sing instead of just tasting sugary
- Light brown sugar: Packed tight, this gives the caramel its deep amber color and that molasses undertone you cannot get from white sugar
- Light corn syrup or golden syrup: Prevents the caramel from crystallizing and keeps it smooth and spoonable
- Sweetened condensed milk: The secret to that thick, gooey, candy bar caramel texture that sets up perfectly but still yields to the tooth
- Milk chocolate: Chopped into uneven pieces helps it melt evenly, and the milk variety keeps these bars true to the original inspiration
- Additional butter for chocolate: One tablespoon might feel unnecessary but it gives the chocolate that gorgeous glossy finish and prevents it from snapping too hard
Instructions
- Get your oven ready and your pan prepped:
- Preheat that oven to 350°F and line a 9x13 inch pan with parchment paper, letting the ends hang over the sides like little handles because you will thank yourself later when lifting these out.
- Build the buttery foundation:
- Cream your softened butter and sugar until it looks fluffy and pale, then gently fold in the flour and salt until it just comes together into a soft dough that barely holds its shape.
- Press and bake:
- Press the dough into your prepared pan in an even layer, prick it all over with a fork so it does not puff up oddly, and bake for 18 to 20 minutes until it is barely golden at the edges.
- Start the caramel magic:
- In a heavy saucepan, melt your butter then stir in the brown sugar, corn syrup, sweetened condensed milk and salt, bringing everything to a gentle bubble while stirring constantly so nothing catches on the bottom.
- Cook to perfection:
- Let that caramel bubble away for 7 to 10 minutes, stirring the whole time, until it thickens up nicely and reaches 225°F if you are using a thermometer, turning a gorgeous amber color that smells like pure comfort.
- Layer the caramel:
- Pour your hot caramel over that completely cooled shortbread base, spread it into an even layer with your spatula, and walk away for a full hour so it can set up properly.
- Melt the chocolate topping:
- Melt your chocolate with that final tablespoon of butter using a double boiler or careful microwave bursts, stirring until it is silky smooth and pours like warm honey.
- Add the final layer and cut:
- Pour the chocolate over your caramel layer, spread it gently, let it set until firm but not rock hard, then use your parchment handles to lift the whole thing out and cut into 16 perfect squares.
 Save to Pinterest
 My sister in law called me the week after Thanksgiving to admit she had eaten three of these bars for breakfast the morning after the party. She said she stood at the counter with a cup of coffee and just kept going back for another, and she has never forgave me for introducing them to her life.
Making These Ahead
I have learned through experience that these bars actually improve after a day in the refrigerator, as the layers have time to become friends and the flavors settle into something more complex. Wrap the uncut slab tightly in plastic and foil, then bring it to room temperature for about 30 minutes before cutting and serving.
Ingredient Swaps That Work
Sometimes I use dark chocolate instead of milk when I want something a bit more sophisticated for adult gatherings, and the slight bitterness against all that sweetness is absolutely gorgeous. For a salted caramel version, sprinkle flaky sea salt over the warm caramel layer before adding the chocolate, but do not add the salt directly into the caramel mixture itself.
Storage and Serving Tips
These bars keep beautifully in an airtight container at room temperature for up to five days, though in my house they rarely survive beyond day three. The butter content means they will become too hard if refrigerated for long periods, so let them come to room temperature before serving for the best texture.
- Separate layers with parchment paper if you need to stack them
- Cut them while slightly cool but not cold for the cleanest edges
- These freeze remarkably well for up to two months if wrapped tightly
 Save to Pinterest
 There is something deeply satisfying about recreating a childhood favorite with real ingredients and watching adults get just as excited about it as kids do. Hope these bring as much joy to your table as they have to mine.
Recipe FAQs
- → How long do these bars need to set?
-
Allow the caramel layer to cool and set for about 1 hour at room temperature. After adding the chocolate topping, refrigerate for 30 minutes until firm but not hard. Total setting time is approximately 1.5 to 2 hours.
- → Can I use dark chocolate instead of milk chocolate?
-
Absolutely. Dark chocolate creates a richer, less sweet topping that balances beautifully with the caramel. Use 10 oz (285 g) of your preferred dark chocolate variety.
- → What's the best way to get clean cuts when slicing?
-
Use a sharp knife and wipe the blade clean between each cut. For even cleaner edges, briefly warm the knife under hot water and dry thoroughly before slicing.
- → How should I store these bars?
-
Keep in an airtight container at room temperature for up to 5 days. If your kitchen is particularly warm, refrigeration is fine but bring to room temperature before serving for the best texture.
- → Can I make these ahead of time?
-
Yes, these bars actually improve after a day as the flavors meld. Prepare them 1-2 days in advance, storing in the refrigerator and bringing to room temperature before serving.
- → Is a candy thermometer necessary for the caramel?
-
While not absolutely necessary, a candy thermometer ensures precision. The caramel should reach 225°F (107°C). Without one, cook until the mixture thickens noticeably and turns a rich golden amber color.