 Save to Pinterest
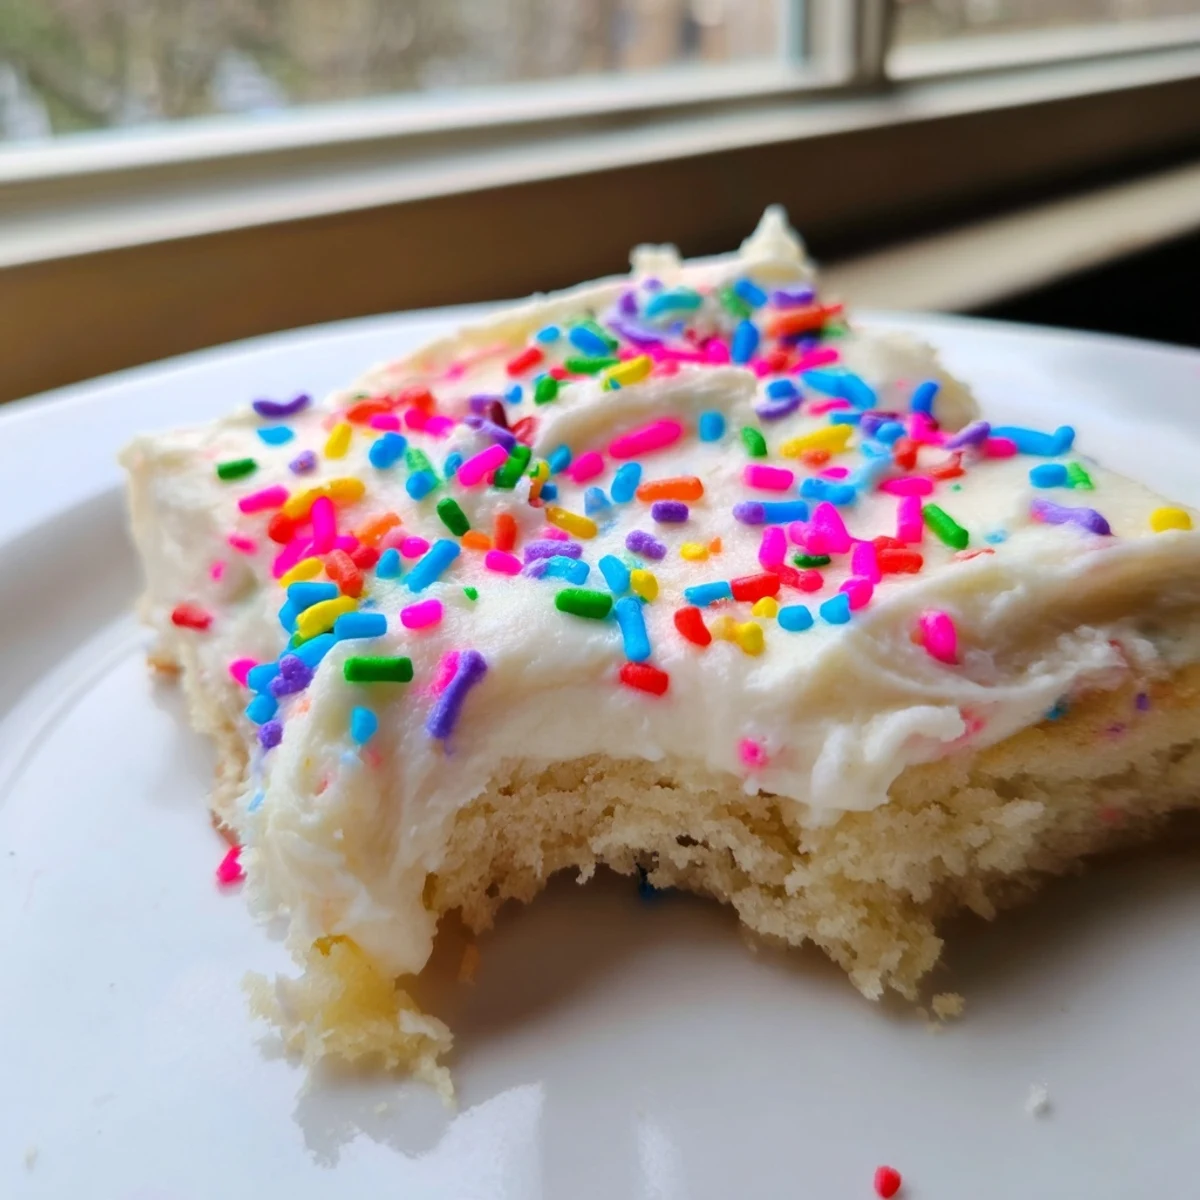
 These soft sugar cookie bars feature a tender, buttery base topped with luscious creamy frosting. The dough comes together quickly and bakes into golden squares that stay moist and chewy. Top with vanilla buttercream frosting, customize with food coloring and sprinkles for any occasion.
The smell of butter and sugar creaming together in a bowl is enough to make anyone walk into the kitchen and ask what you are making. These frosted sugar cookie bars came into my life during a rainy Saturday when I wanted cookies but refused to scoop dozens of individual dough balls. Pressing everything into one pan felt like a small act of rebellion that paid off deliciously.
I brought a tray of these to a potluck once and watched a friend eat four squares before dinner was even served. She tried to hide the evidence by pushing her plate behind a centerpiece, which only made it more obvious.
Ingredients
- 2 1/4 cups (280 g) all-purpose flour: This gives the bars enough structure to hold together without turning cakey or dry.
- 1/2 teaspoon baking powder: Just enough lift so the bars are soft and tender rather than dense.
- 1/2 teaspoon salt: Salt balances the sweetness in both the cookie base and the frosting.
- 3/4 cup (170 g) unsalted butter, softened: Room temperature butter creams properly and traps air for a lighter crumb.
- 1 cup (200 g) granulated sugar: Regular white sugar gives the classic sugar cookie sweetness.
- 1 large egg plus 1 large egg yolk: The extra yolk adds richness and keeps the bars chewy.
- 2 teaspoons pure vanilla extract: Use the real stuff here because it is the primary flavor.
- 1/4 cup (60 ml) whole milk: A splash of milk loosens the dough just enough to spread smoothly into the pan.
- 1/2 cup (115 g) unsalted butter, softened (for frosting): Beat this until completely creamy before adding sugar to avoid lumps.
- 2 cups (240 g) powdered sugar, sifted: Sifting is nonnegotiable for a silky frosting.
- 2 tablespoons whole milk (for frosting): Add gradually until you reach a spreadable consistency.
- 1 teaspoon pure vanilla extract (for frosting): Double down on vanilla for that classic bakery flavor.
- Food coloring and sprinkles (optional): Have fun with this part because the bars are your canvas.
Instructions
- Preheat and prep the pan:
- Set your oven to 350 degrees F and line a 9 by 13 inch baking pan with parchment paper, leaving an overhang on the sides so you can lift the bars out later. The overhang trick will save you from the dreaded stuck cookie situation.
- Whisk the dry ingredients:
- In a medium bowl, whisk together the flour, baking powder, and salt. Set this aside while you work on the butter mixture.
- Cream butter and sugar:
- Beat the softened butter and granulated sugar in a large bowl for about 2 to 3 minutes until the mixture looks pale and fluffy. You will hear the sound change from a heavy thud to a light whir when it is ready.
- Add the wet ingredients:
- Drop in the egg, the extra yolk, and the vanilla extract, then beat until everything is fully combined and smooth.
- Combine wet and dry:
- On low speed, alternate adding the flour mixture and the milk to the butter mixture, starting and ending with the flour. Stop mixing as soon as the last streak of flour disappears.
- Spread and bake:
- Press the dough evenly into your prepared pan using an offset spatula to smooth the top. Bake for 18 to 22 minutes until the edges are lightly golden and a toothpick comes out with moist crumbs clinging to it.
- Cool completely:
- Leave the bars right in the pan on a wire rack until they reach room temperature. Warm bars will melt your frosting into a sad puddle.
- Make the frosting:
- Beat the softened butter until creamy, then gradually add the powdered sugar, milk, and vanilla, whipping until the frosting is light and fluffy. Add food coloring now if you are using it.
- Frost, cut, and serve:
- Spread the frosting in an even layer over the cooled bars, add sprinkles if desired, then use the parchment overhang to lift the whole slab out. Cut into 16 squares and watch them disappear.
 Save to Pinterest
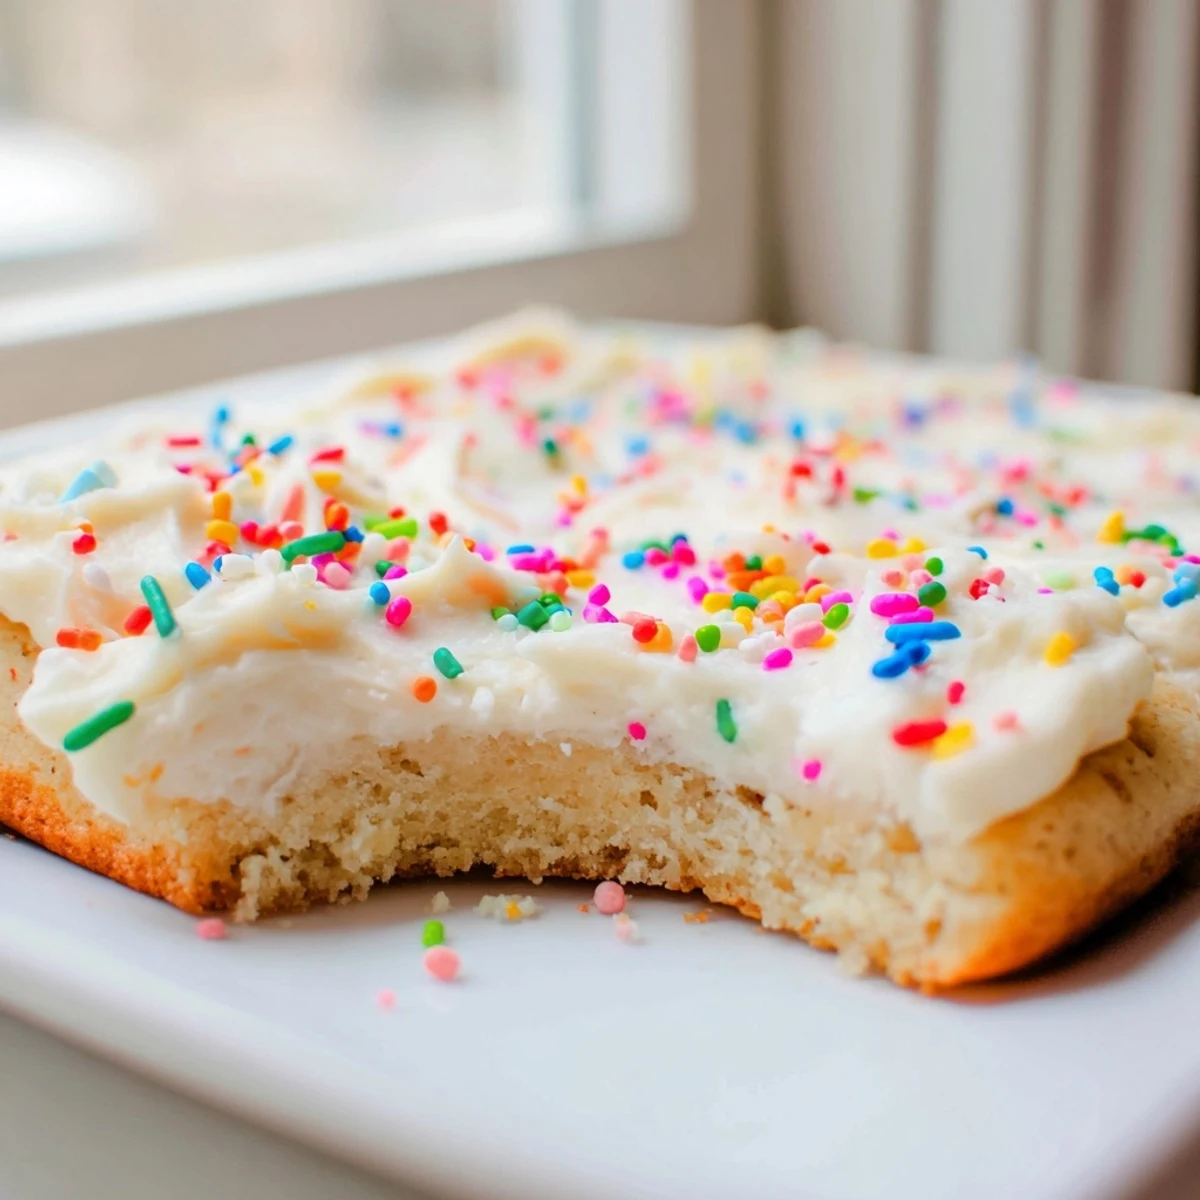
 There is something deeply satisfying about lifting a giant slab of frosted cookie out of a pan and slicing it into neat squares. It feels like you made something impressive without actually working very hard, which is honestly the best kind of baking.
The Frosting Is Yours to Play With
I have used every color of food coloring imaginable, from ghostly pale blue to aggressive neon green, and they all taste exactly the same. You can also swap the vanilla for almond or lemon extract in the frosting to give the bars a completely different personality.
Making Them Dairy Free
Plant based butter and your favorite nondairy milk work surprisingly well in both the cookie base and the frosting. The texture will be slightly softer but still completely delicious and nobody at the table will suspect a thing.
Storage and Leftovers
These bars stay fresh in an airtight container at room temperature for up to three days, though they rarely last that long in my house. The refrigerator will make the frosting firm and the cookie base dry, so room temperature is your friend here.
- Freeze unfrosted bars for up to two months and add fresh frosting after thawing.
- Seasonal sprinkles turn these into an instant holiday dessert with zero extra effort.
- Always check ingredient labels for allergens if you are making substitutions for guests.
 Save to Pinterest
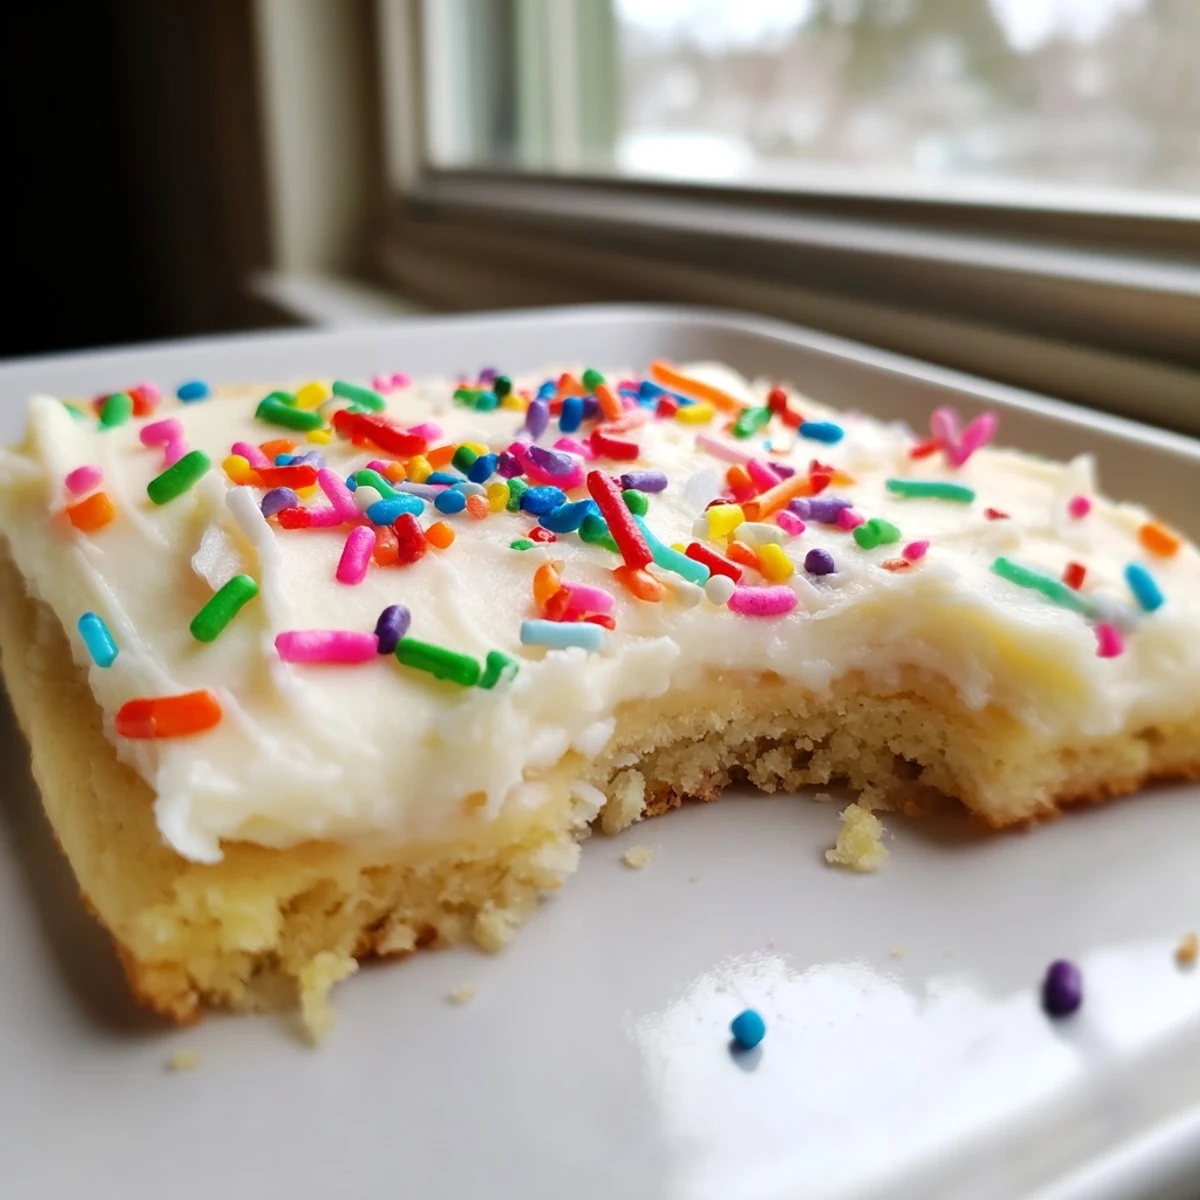
 Every time I make these, I wonder why I ever bother rolling and cutting individual sugar cookies. This pan version is faster, easier, and honestly just as joyful, especially when you hand someone a thick frosted square and watch their eyes light up.
Recipe FAQs
- → How should I store frosted sugar cookie bars?
-
Store in an airtight container at room temperature for up to 3 days. The frosting stays creamy and the bars remain soft. For longer storage, refrigerate up to a week, though bring to room temperature before serving for best texture.
- → Can I make these bars dairy-free?
-
Yes! Substitute plant-based butter for both the cookie dough and frosting. Use your favorite non-dairy milk like almond, oat, or soy. The texture and taste remain delicious while accommodating dairy-free dietary needs.
- → Why is my dough too sticky to handle?
-
The dough is meant to be soft and sticky. Simply press it directly into your prepared pan using greased hands or an offset spatula. No rolling required—this method creates evenly thick bars that bake uniformly.
- → Can I freeze these cookie bars?
-
Frosting and all. Wrap tightly in plastic and foil, then freeze up to 3 months. Thaw overnight at room temperature. Alternatively freeze unfrosted bars, then frost after thawing for freshest appearance.
- → How do I know when the bars are done baking?
-
The edges should be lightly golden while the center appears slightly underdone. A toothpick inserted in the center should come out with moist crumbs, not wet batter. They continue setting as they cool, so avoid overbaking.
- → Can I add different frosting flavors?
-
Absolutely! Replace vanilla extract with almond, lemon, coconut, or maple extract. Add melted chocolate for cocoa frosting, or strawberry puree for fruit variations. The buttercream base adapts beautifully to different flavors.