 Save to Pinterest
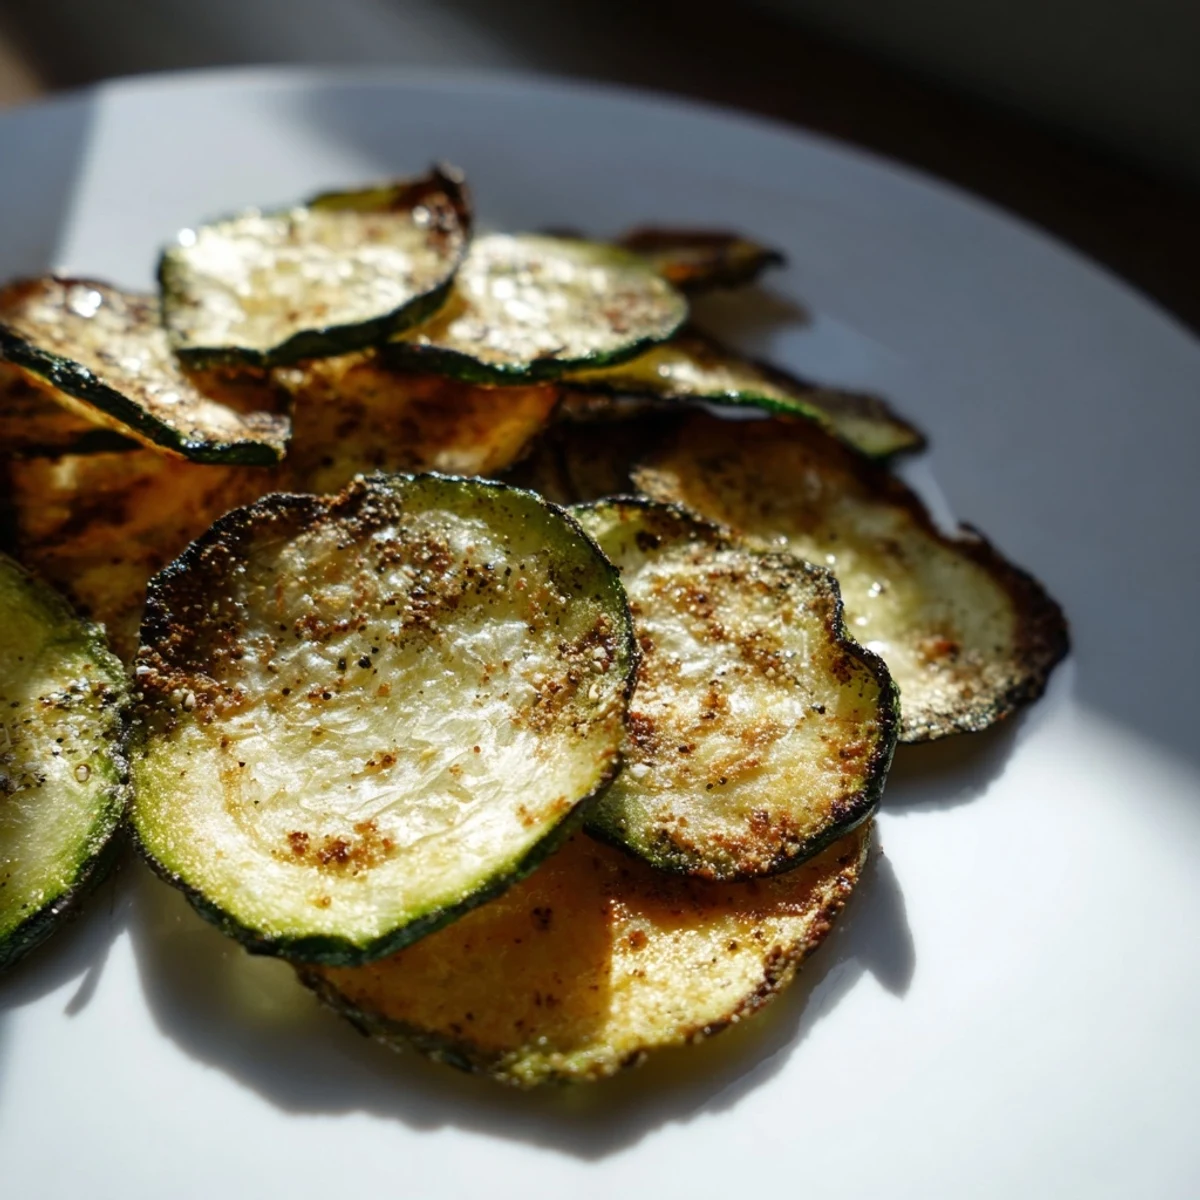
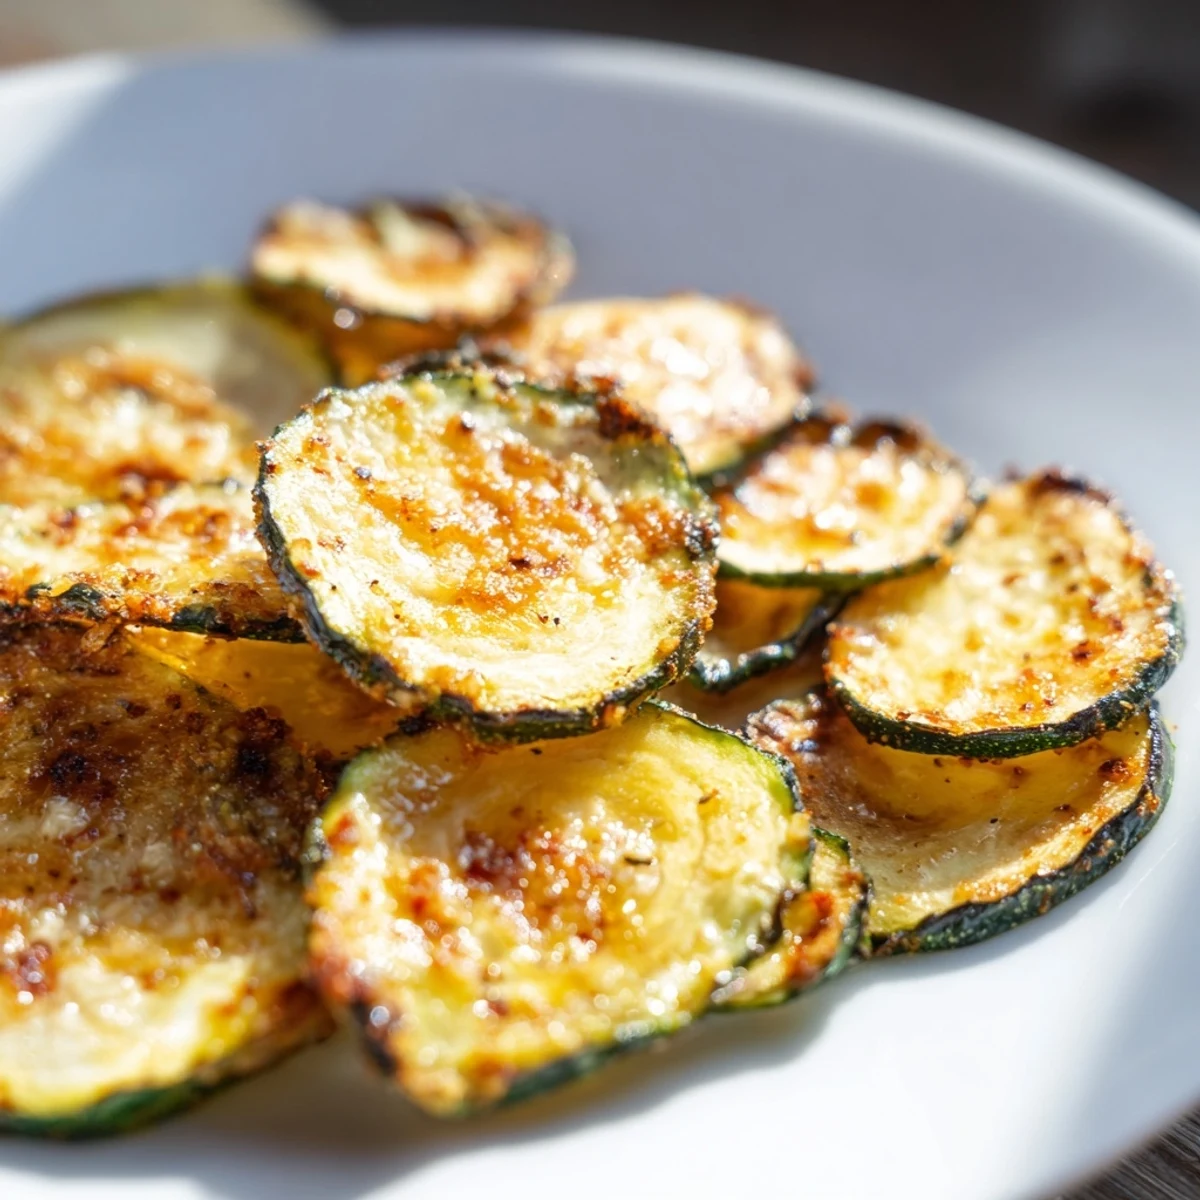
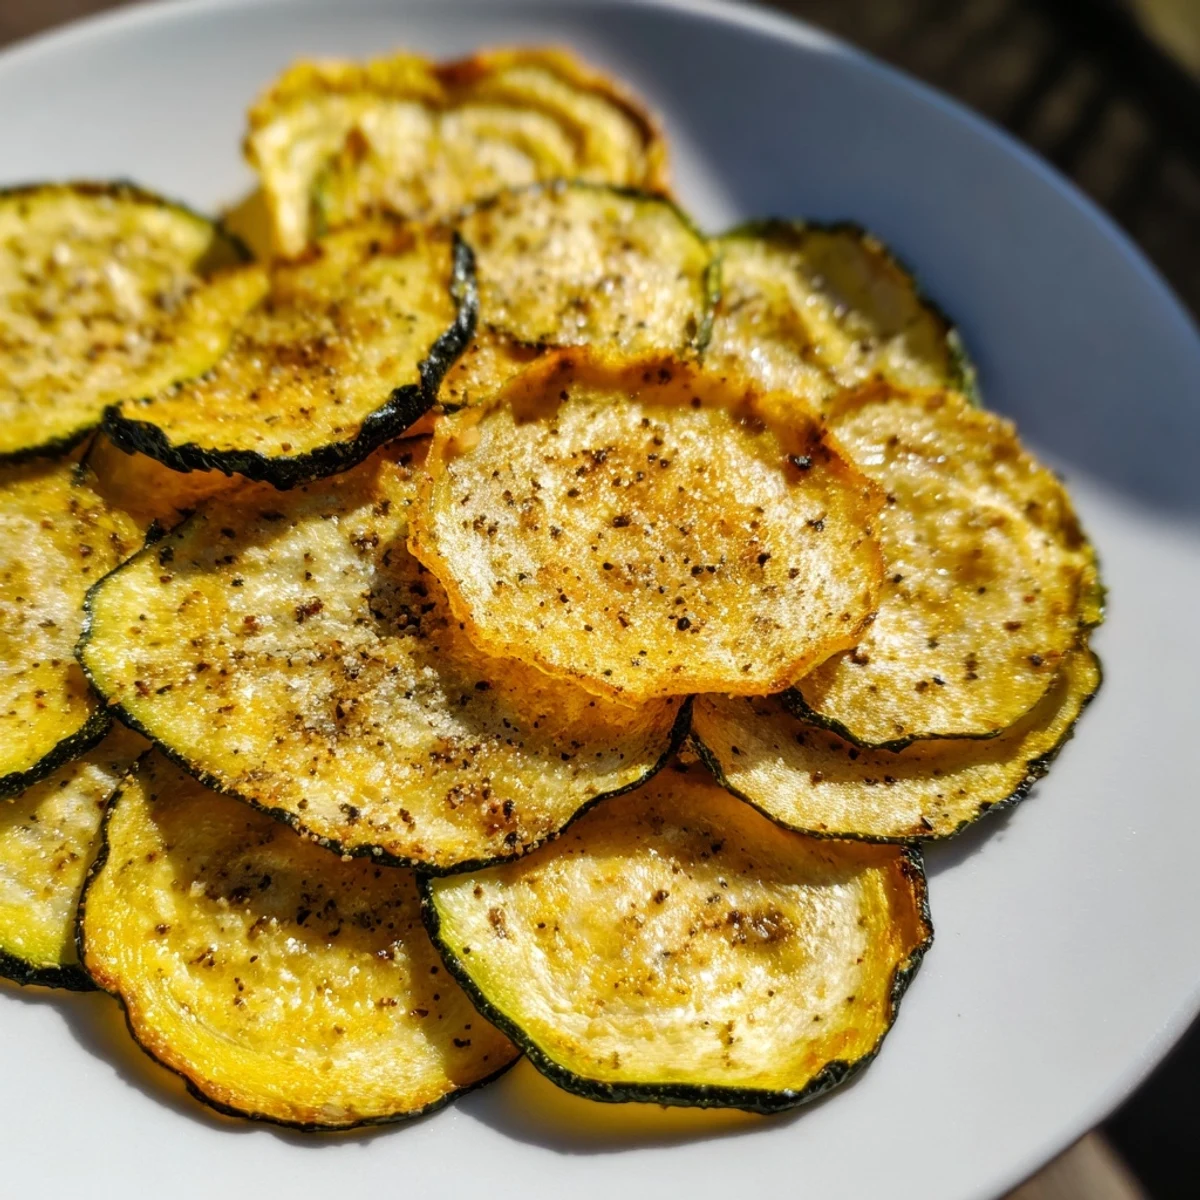
 These crispy zucchini chips transform ordinary vegetables into a satisfying snack. Thinly sliced zucchini rounds are tossed with olive oil and seasonings, then slow-baked until perfectly crisp. The long, low-temperature baking process ensures maximum crunchiness while preserving the zucchini's natural flavor.
With minimal ingredients and easy preparation, these chips offer a healthier alternative to store-bought snacks. Customize with optional garlic powder, smoked paprika, or even Parmesan cheese for extra flavor dimensions. Best enjoyed fresh but can be stored for up to three days.
The sound of crunching that rivals potato chips, but without the guilt? That's what hooked me on these zucchini chips during one particularly abundant summer harvest. Standing in my kitchen with mountains of garden zucchini threatening to take over my refrigerator, I stumbled upon this revelation while desperately searching for ways to use them up. The transformation of this humble vegetable into something so addictively crispy still amazes me.
My neighbor stopped by just as the first batch was cooling on the counter, and her skeptical expression quickly transformed to wonder after the first bite. We ended up polishing off the entire tray while standing in my kitchen, forgetting completely about the coffee I'd invited her over for. Now she grows extra zucchini in her own garden just for making these chips.
Ingredients
- 2 medium zucchinis: Look for firm, unblemished ones about 7-8 inches long for the perfect chip size and moisture content.
- 1 tablespoon olive oil: Just enough to coat without making them greasy, I learned this delicate balance after many soggy attempts.
- 1/2 teaspoon sea salt: The flaky kind distributes more evenly and creates little bursts of flavor with each bite.
- Optional seasonings: The garlic powder and smoked paprika transform these from simple veggie chips to something you might serve at a gathering.
Instructions
- Slice with precision:
- Aim for that magical 1/8 inch thickness where the slices are thin enough to crisp but sturdy enough not to disintegrate. A mandoline slicer changed my chip game entirely.
- Banish the moisture:
- Pat those slices dry like youre trying to comfort them. Extra moisture is the sworn enemy of crispiness.
- Season with care:
- Toss everything in a bowl rather than seasoning on the tray. This ensures every slice gets its fair share of flavor.
- Create breathing room:
- Arrange your slices like they each need personal space therapy. Any overlap will lead to steaming instead of crisping.
- Practice patience:
- The low-and-slow baking approach is non-negotiable. Rush this process and youll end up with either floppy disks or charred remnants.
- Allow for aftercrisp:
- Resist the urge to judge doneness while still hot. These magical discs continue to crisp as they cool, developing their full crunch potential.
 Save to Pinterest
 Last summer, my ten-year-old niece visited and turned her nose up at the very mention of zucchini anything. After helping me make these chips and witnessing the alchemical transformation in the oven, she now requests them by name. The pride in her voice when she tells people she knows how to make vegetable chips is worth every minute of the baking time.
Storage Secrets
The frustrating reality I've faced is that these chips begin losing their magnificent crunch about 24 hours after baking, no matter how airtight the container. I've experimented with adding little silica packets saved from vitamin bottles, which surprisingly extends their crisp life by another day or so.
Flavor Variations
My absolute favorite variation came about during an Italian dinner party when I scattered some finely grated Parmesan and a whisper of dried oregano over the oiled slices before baking. The cheese creates these tiny crispy islands on each chip that intensify the savory quality to an almost ridiculous degree.
Troubleshooting Tips
After multiple batches that emerged from the oven still stubbornly pliable rather than crisp, I realized the humidity in my kitchen was working against me. Running the exhaust fan during baking creates a drier environment that helps achieve that perfect snap.
- If your chips start to brown too quickly, your oven is likely running hot, so drop the temperature by 25 degrees and extend the baking time.
- For chips that refuse to crisp, try leaving them in the turned-off oven with the door cracked after baking to continue dehydrating slowly.
- Always taste test one chip from each tray before removing everything, as appearances can be deceiving.
 Save to Pinterest
 These humble chips have taught me that patience in the kitchen often yields the most remarkable results. From desperate garden overflow solution to beloved snack staple, they remind me that simplicity, when handled with care, can be extraordinary.
Recipe FAQs
- → Why do I need to remove moisture from the zucchini before baking?
-
Removing excess moisture from zucchini slices is crucial for achieving crispiness. Zucchini naturally contains high water content, which can make chips soggy during baking. Patting them dry with paper towels helps evaporate moisture faster, resulting in that perfect crunch.
- → Can I use a different oil instead of olive oil?
-
Yes, you can substitute olive oil with avocado oil, coconut oil, or any neutral-flavored oil you prefer. Each oil will impart a slightly different flavor profile, but the crispiness will remain consistent as long as you use a similar quantity.
- → Why is the baking temperature so low?
-
The low temperature (225°F/110°C) allows the zucchini to dry out gradually without burning. This slow baking process removes moisture evenly, resulting in perfectly crisp chips rather than ones that are burnt on the edges but still soft in the middle.
- → How can I tell when the chips are done baking?
-
The chips are done when they appear dry, slightly shrunken, and lightly golden around the edges. They might still feel slightly flexible when hot but will crisp up significantly as they cool. If they're still too flexible after cooling, they need more time in the oven.
- → Why do my chips lose their crispiness after storage?
-
Zucchini chips can absorb moisture from the air, causing them to lose crispiness when stored. To maintain crunch, ensure they're completely cooled before storing in an airtight container with a paper towel to absorb excess moisture. Consider re-crisping them in a warm oven for a few minutes before serving.
- → Can I use yellow squash instead of zucchini?
-
Absolutely! Yellow summer squash makes an excellent substitute for zucchini in this preparation. The cooking time and method remain the same, though yellow squash may have a slightly sweeter flavor profile.