
 Save to Pinterest
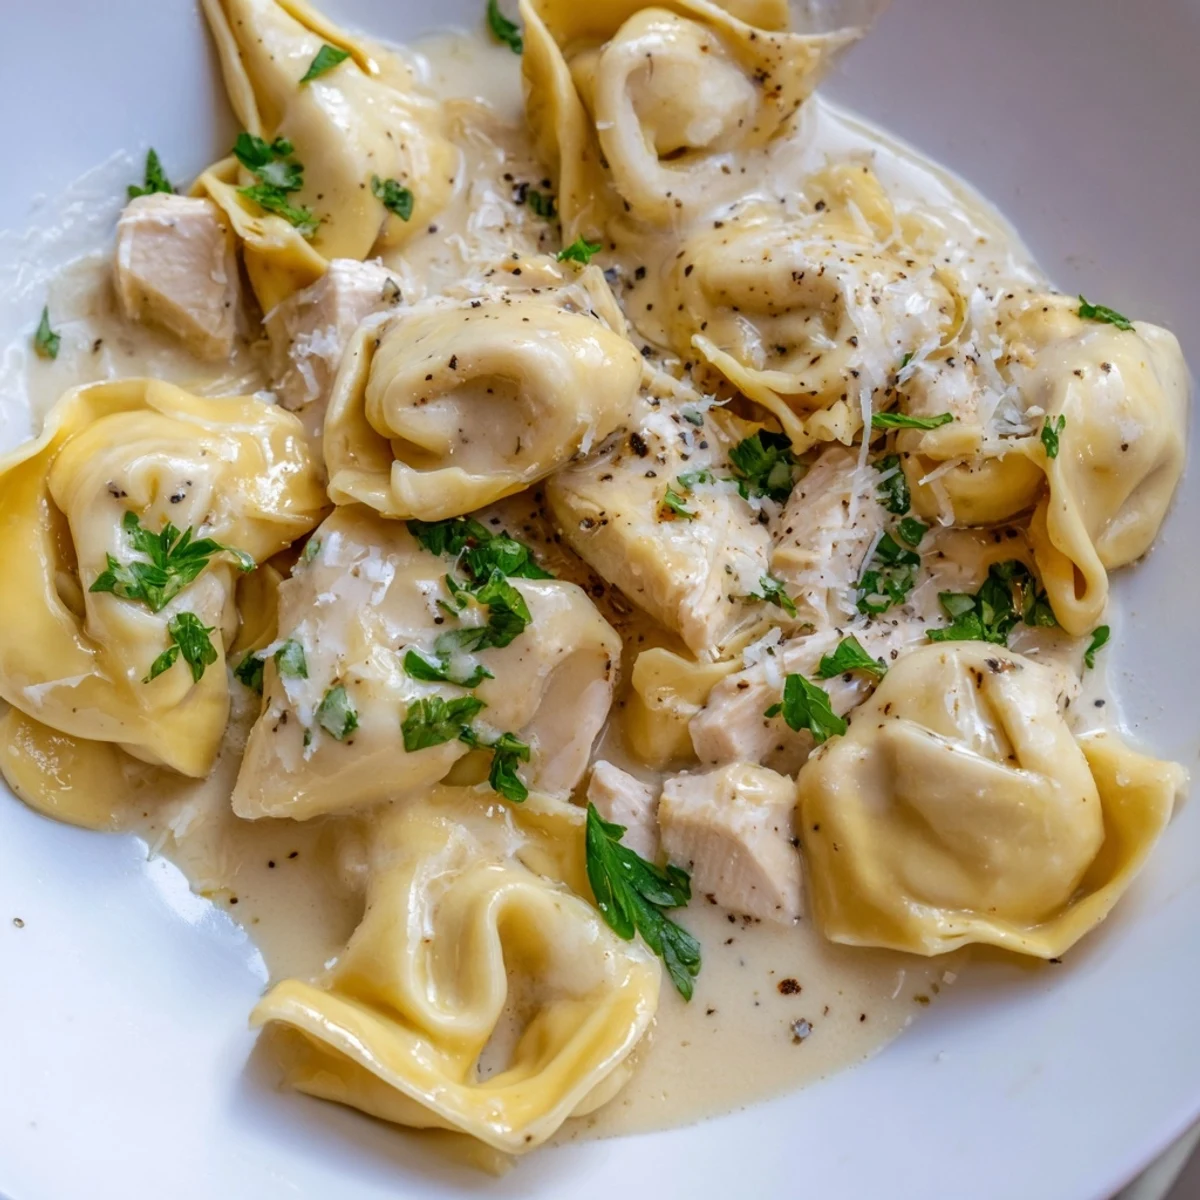
 These handmade tortellini are filled with a savory blend of finely chopped chicken breast, ricotta, and Parmesan, seasoned with garlic, fresh parsley, and a hint of nutmeg. Shaping each tortellini takes a bit of patience, but the process is deeply rewarding.
Once boiled until tender, the pasta gets bathed in a simple yet luxurious cream sauce made with butter, heavy cream, and more Parmesan. The result is a silky, comforting dish that feels special enough for guests yet approachable enough for a cozy weeknight.
Plan about 40 minutes for prep and 20 minutes for cooking. A rolling pin and a little practice are all you need to master the shaping.
My kitchen counter was dusted white with flour the afternoon I figured out tortellini by hand, no pasta machine, no fancy tools, just a rolling pin and stubbornness. The dough kept springing back at me, and I nearly phoned for delivery twice. But somewhere between the third knead and the smell of melted butter hitting the pan, I realized I was actually having fun. That batch was misshapen and ridiculous, but it tasted like something from a tiny trattoria I once visited in Bologna.
I made these for my sister the week she moved into her first apartment, her kitchen was half unpacked and we only had one decent pot. We ate standing up, tortellini slipping off paper plates, laughing at the ones I had sealed too aggressively that looked like angry little purses. She called me a week later asking for the recipe, which is honestly the highest compliment I have ever received.
Ingredients
- All-purpose flour (2 cups): You want plain, unbleached flour here, bread flour makes the dough too elastic and it fights you the entire time.
- Large eggs (3): The yolks do most of the work, so use the best eggs you can find, the color of your dough will thank you.
- Salt (1/2 tsp for dough): Just enough to wake up the flour, do not skip this even though it seems small.
- Cooked chicken breast, finely chopped (1 cup): Rotisserie chicken is the move here, shred it fine so every bite of filling holds together.
- Ricotta cheese (1/2 cup): This binds the filling and keeps it moist, drain it first if it looks watery.
- Grated Parmesan cheese (1/4 cup for filling, 1/2 cup for sauce): Freshly grated melts into the sauce beautifully, the pre shredded kind has coatings that make it grainy.
- Garlic clove, minced (1): One is enough, you want a whisper of garlic not a shout.
- Fresh parsley, finely chopped (2 tbsp for filling plus more to serve): Flat leaf parsley has better flavor than curly, and it makes the filling look bright.
- Ground nutmeg (1/4 tsp): This is the secret, do not leave it out, it bridges the gap between the chicken and the cheese.
- Salt and pepper to taste: Season the filling generously, the pasta water will salt the outside but the inside needs its own seasoning.
- Heavy cream (1 cup): No substitutions here, the richness is the whole point of this sauce.
- Unsalted butter (2 tbsp): Lets you control the salt level while giving the sauce a velvety finish.
- Freshly ground black pepper for sauce: Go heavier than you think, cream sauces love pepper.
- Extra Parmesan and parsley for serving: Always offer more at the table, people love customizing their own plate.
Instructions
- Build the dough:
- Mound the flour on your counter and carve a deep well in the center like a tiny volcano. Crack the eggs and sprinkle salt right into that crater, then stir gently with a fork, slowly pulling in flour from the walls until everything comes together into a shaggy mass. Knead firmly for about seven minutes until the dough feels smooth and springs back when you press it. Wrap it tightly in plastic and let it sit for twenty minutes so the gluten relaxes.
- Mix the filling:
- Toss the chopped chicken, ricotta, Parmesan, garlic, parsley, nutmeg, salt, and pepper into a bowl and mix until evenly combined. Taste a tiny pinch before you commit, adjusting salt if the chicken was bland. The texture should hold together when you pinch it but still feel a little loose.
- Roll and shape your tortellini:
- Roll the dough as thin as you can manage, aim for translucent enough that you can almost see your hand through it. Cut into two inch squares and place a scant teaspoon of filling in the center of each one. Fold the square into a triangle, press the edges firmly to seal out any air, then bring the two bottom corners together around your finger to form the classic tortellini shape.
- Cook the pasta:
- Drop the tortellini into a large pot of boiling salted water, working in batches so they do not crowd. They are done when they float to the surface, usually around three minutes, which is faster than you expect. Scoop them out with a slotted spoon and keep them warm.
- Make the cream sauce:
- Melt the butter in a saucepan over medium heat, pour in the cream, and let it bubble gently for two or three minutes until it thickens slightly. Stir in the Parmesan and keep stirring until the sauce is smooth and glossy. Hit it with a generous amount of black pepper.
- Bring it all together:
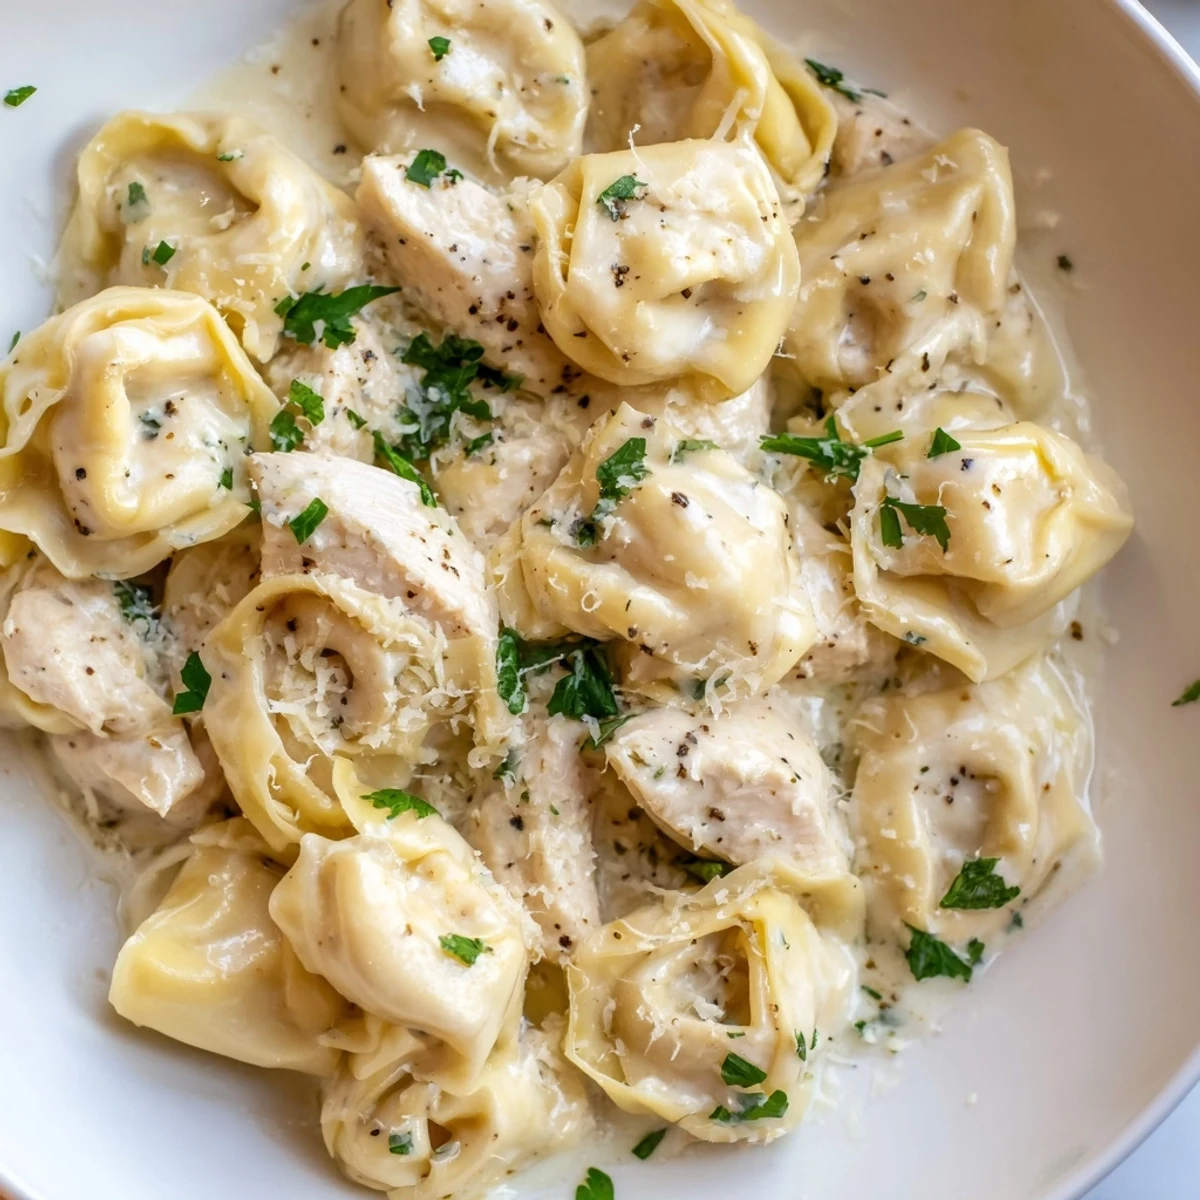
- Toss the warm tortellini gently into the sauce, coating each one without being rough. Plate them with extra Parmesan and a scattering of fresh parsley, then serve immediately while the sauce is still loose and creamy.
 Save to Pinterest
 There is something about a plate of handmade tortellini that makes a Tuesday feel like an occasion, even if your counter is a mess and you have flour in your hair.
Getting Ahead Without Losing Freshness
You can assemble the tortellini a few hours before dinner and keep them on a semolina dusted tray in the refrigerator. If you want to go further, freeze them in a single layer on that tray, then transfer to a bag once they are solid. Frozen tortellini cook beautifully straight from the freezer, just add a minute or two to the boiling time and watch for them to float.
Wine and Simple Sides
A crisp Pinot Grigio cuts right through the richness of the cream sauce, and a light Chardonnay works too if you prefer something rounder. For sides, a simple arugula salad with lemon and olive oil is all you need to balance the meal. Bread is optional but honestly never unwelcome when there is extra sauce on the plate.
Troubleshooting and Variations
Every batch teaches you something new, and after making these a dozen times I have collected a few thoughts that might save you some frustration.
- If the filling seems wet, add a tablespoon more Parmesan rather than more ricotta, it absorbs moisture without dulling the flavor.
- Chopped spinach folded into the filling adds color and a slight earthiness that pairs well with the nutmeg.
- Always taste your cream sauce before tossing the pasta in, once the tortellini are coated you cannot fix an undersalted sauce.
 Save to Pinterest
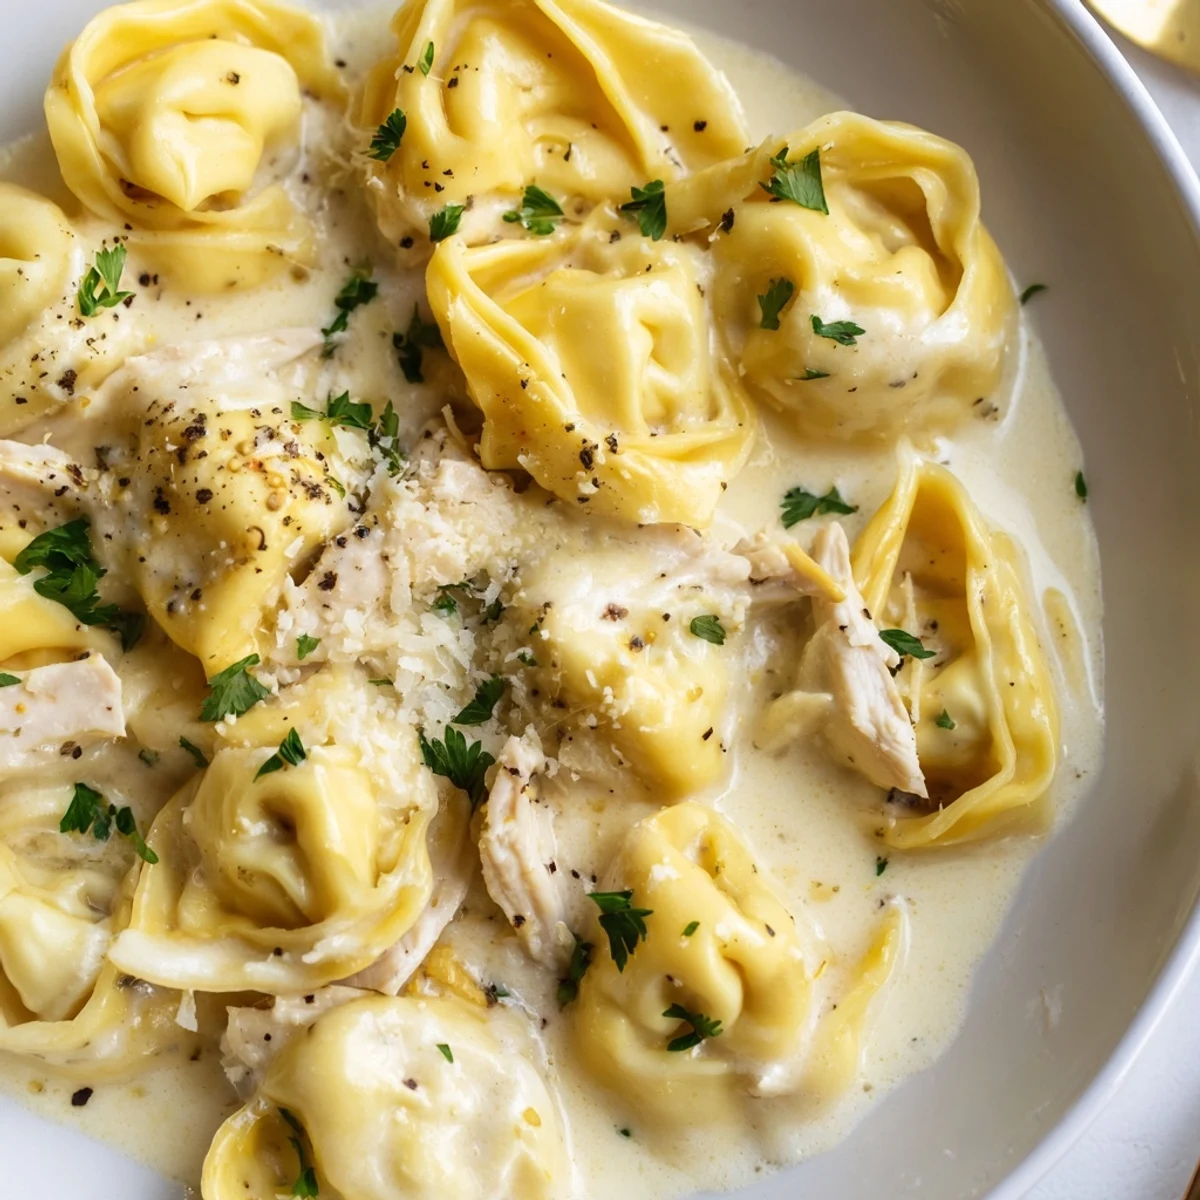
 Handmade pasta is really just flour, eggs, patience, and a willingness to embrace imperfection, and that is what makes it so deeply satisfying.
Recipe FAQs
- → Can I use store-bought wonton wrappers instead of making pasta dough?
-
Yes, wonton wrappers are a great shortcut. They save time on kneading and rolling, and still produce a tender, delicate wrapper that holds the chicken filling well.
- → How do I prevent the tortellini from opening while boiling?
-
Make sure to press out any air around the filling before sealing, and pinch the edges firmly. A light brush of water or egg wash on the dough edges helps create a stronger bond.
- → Can I freeze uncooked tortellini for later?
-
Absolutely. Arrange shaped tortellini in a single layer on a floured baking sheet and freeze until solid, then transfer to a freezer bag. They keep well for up to 2 months and can go straight into boiling water when ready.
- → What can I substitute for heavy cream in the sauce?
-
Half-and-half works with a little extra butter for richness. For a lighter option, a mix of whole milk and a tablespoon of flour whisked in will thicken nicely, though the sauce will be less velvety.
- → What wine pairs well with this dish?
-
A crisp Pinot Grigio or a light Chardonnay complements the creamy sauce without overwhelming the delicate chicken filling. A medium-bodied Soave is also an excellent Italian pairing.
- → How thin should I roll the pasta dough?
-
Aim for about 1/16-inch thickness. The dough should be thin enough to slightly show your hand through it, but not so thin that it tears when filled. A pasta machine makes this easier to achieve consistently.